
Your air filter follows the print.
FanBridge v1 lets your Bambu Lab printer drive your air filter’s fan - over one 4-pin cable to its fan header, or through Home Assistant with no cable at all.
Two ways to run it.
Let the printer set the speed, or take the wheel yourself. Either way, the web UI shows you exactly what the fan is up to.
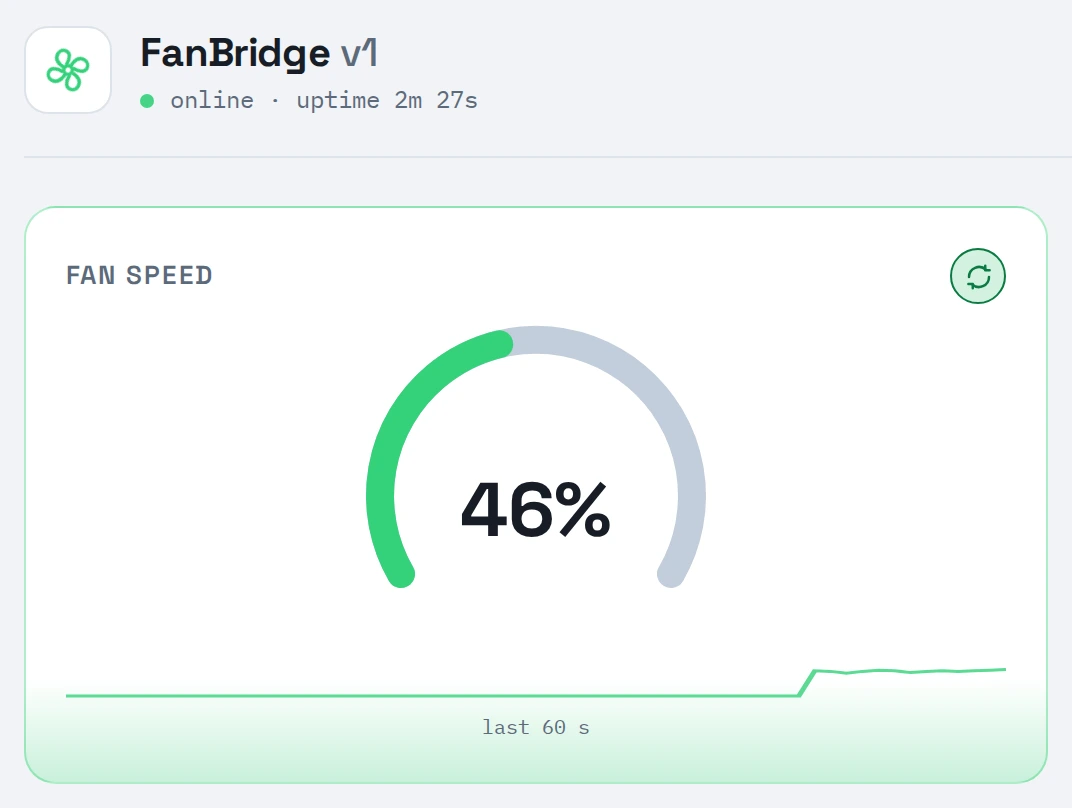
Printer cable in. The printer sets the speed.
- Takes the exhaust fan’s place. The 4-pin cable goes into the printer’s exhaust fan output, and your air filter spins up and down along with the print.
- Answers with a tach signal. The printer sees a healthy fan on its header, so it won’t complain about a missing one.
- Manual stays locked. The slider waits patiently until the printer lets go.
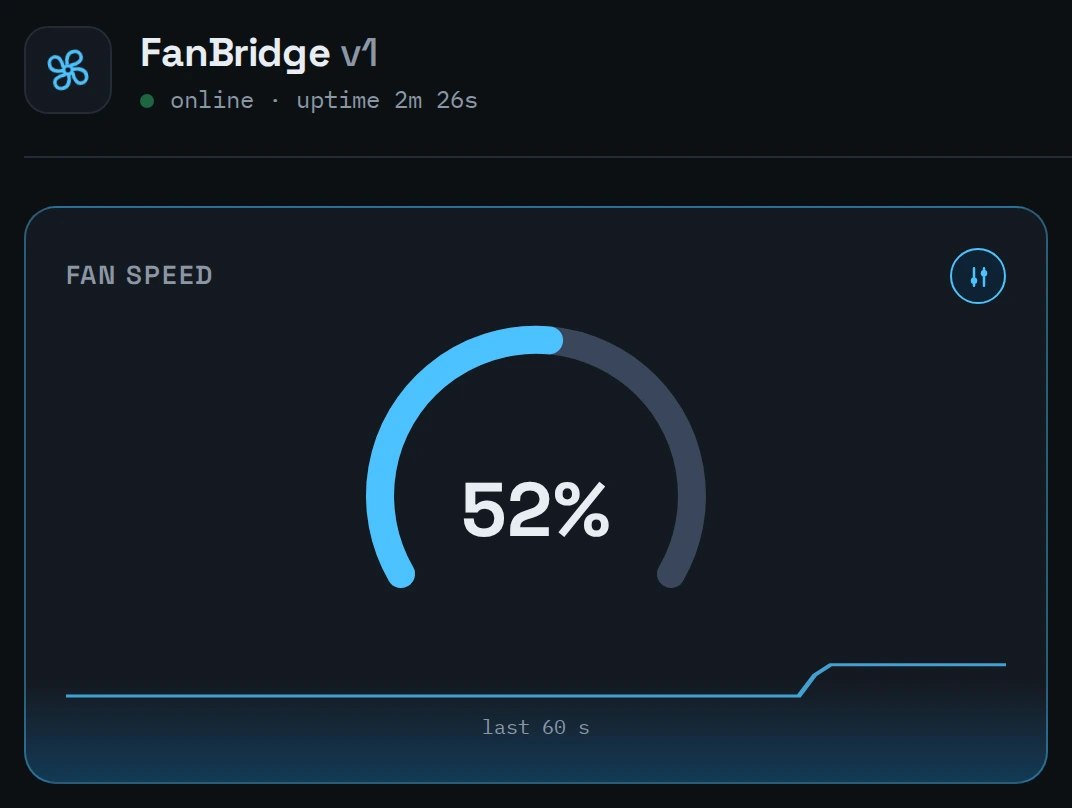
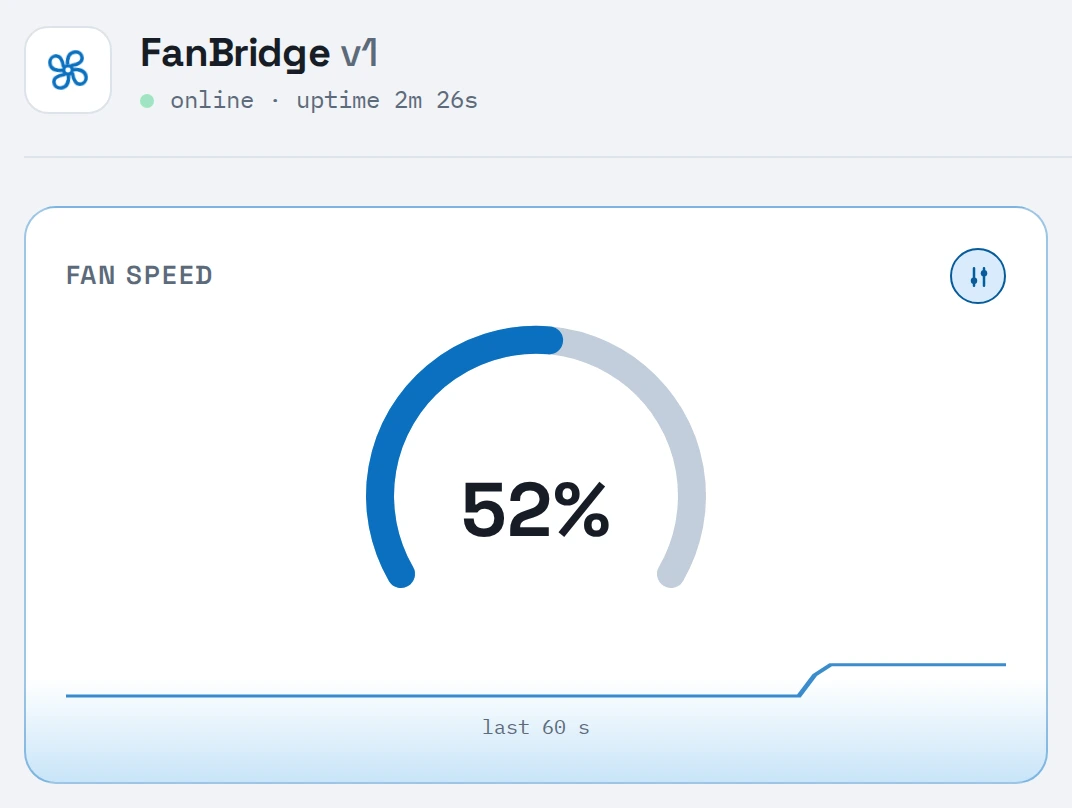
No printer cable. You set the speed, or Home Assistant does.
Presets as the web UI marks them. Set the speed from the web UI, the ESPHome API or a Home Assistant automation - whichever’s handiest.
See the Home Assistant exampleFrom the box to your air filter.
Your air filter already takes the printer’s exhaust. From here it’s two steps: connect FanBridge, then let it run the filter’s fan.
Auto. Connect the 4-pin cable to the printer’s fan header, on the DC IN side of the case. In use, the printer sets the speed with PWM.
Manual. No printer cable: FanBridge joins your Wi-Fi and Home Assistant, which reads the printer through ha-bambulab. In use, Home Assistant sets the speed in percent.
One wire, printer to air filter.
Follow the fan command on its trip from the printer’s header to the fan in your air filter.
No wire, same result.
Home Assistant reads the printer’s fan speed over your network and passes it on to FanBridge.
The printer’s fan header.
Your Bambu Lab printer already knows when the chamber needs air. Its fan header passes that decision on as a PWM command.
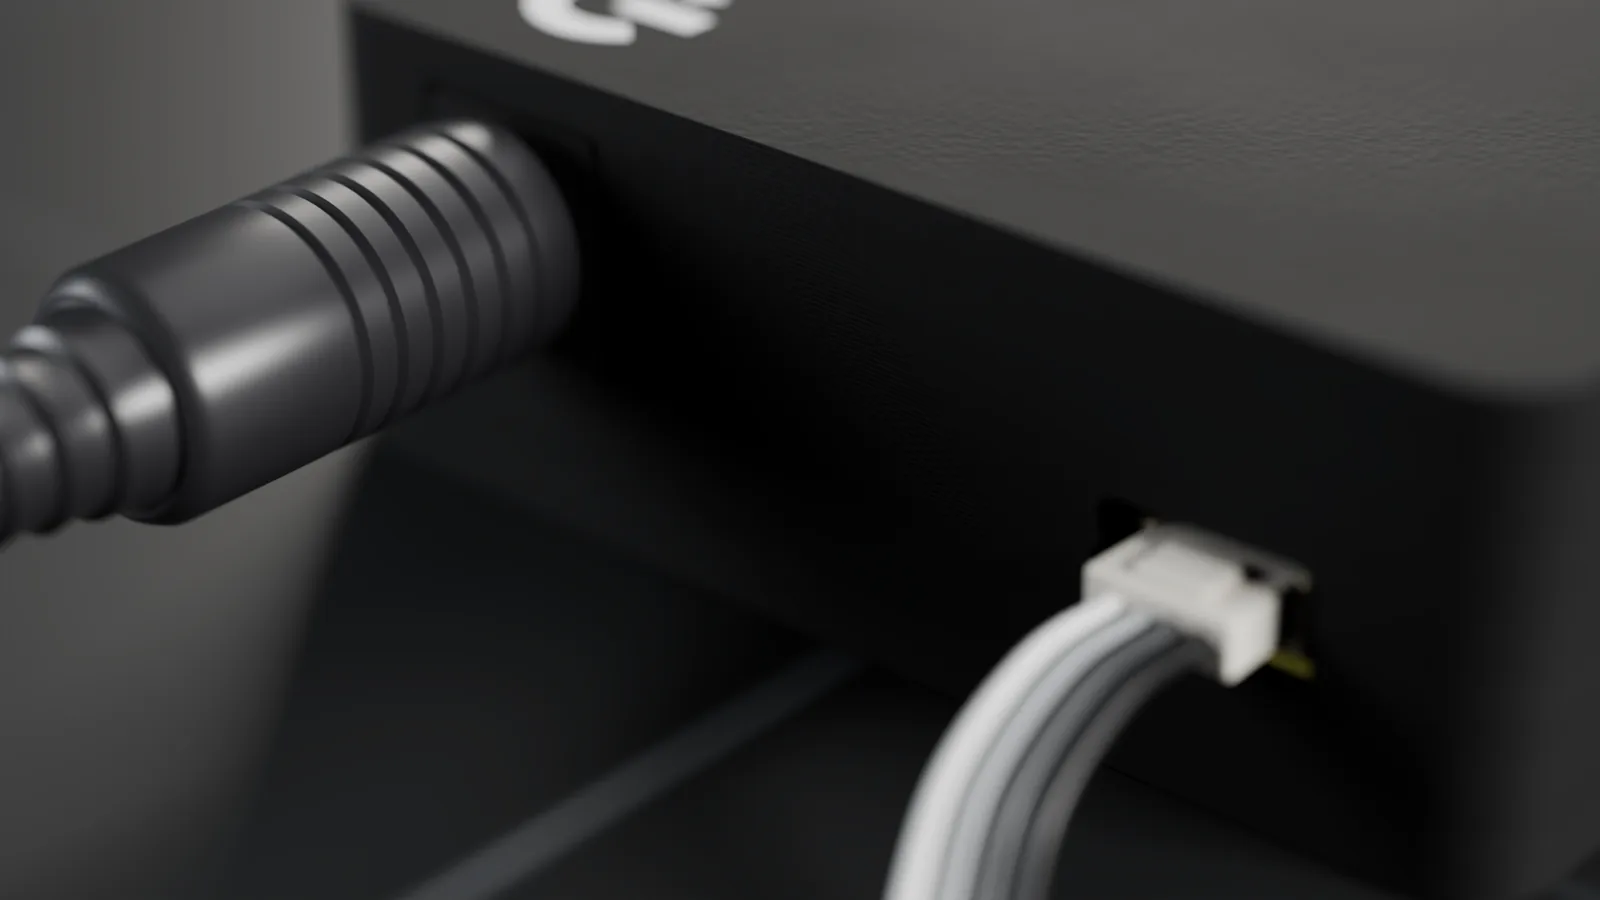
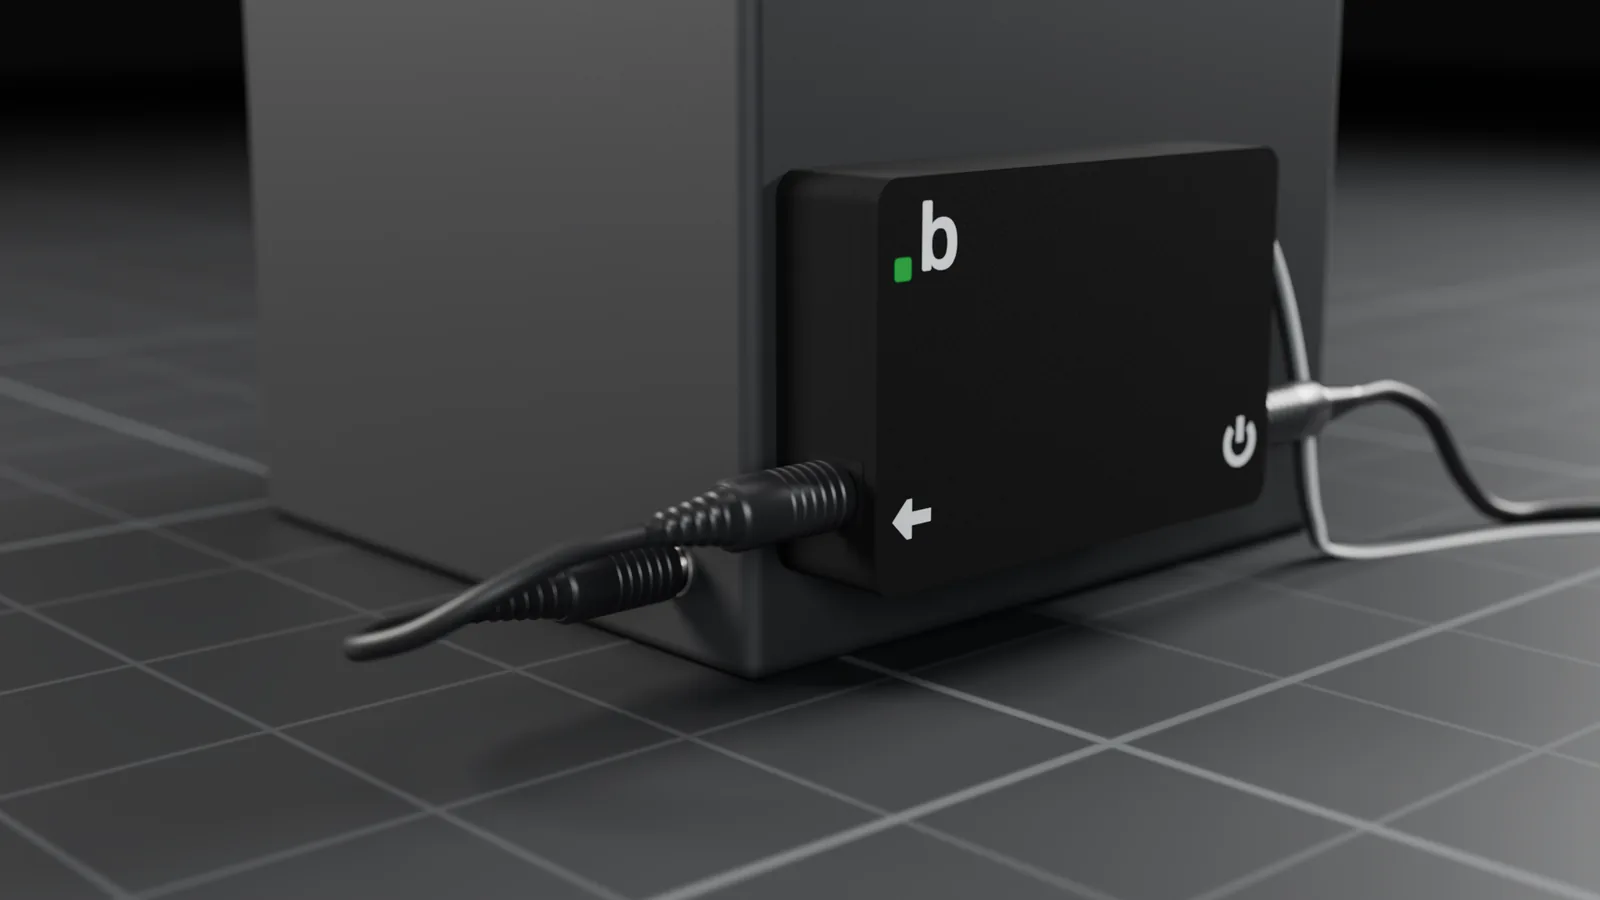
One GH 1.25 4-pin cable.
It goes into the printer’s exhaust fan output, in place of the fan. It carries the header’s 24 V and PWM into FanBridge, and a tach line back out, so the printer still sees its fan.
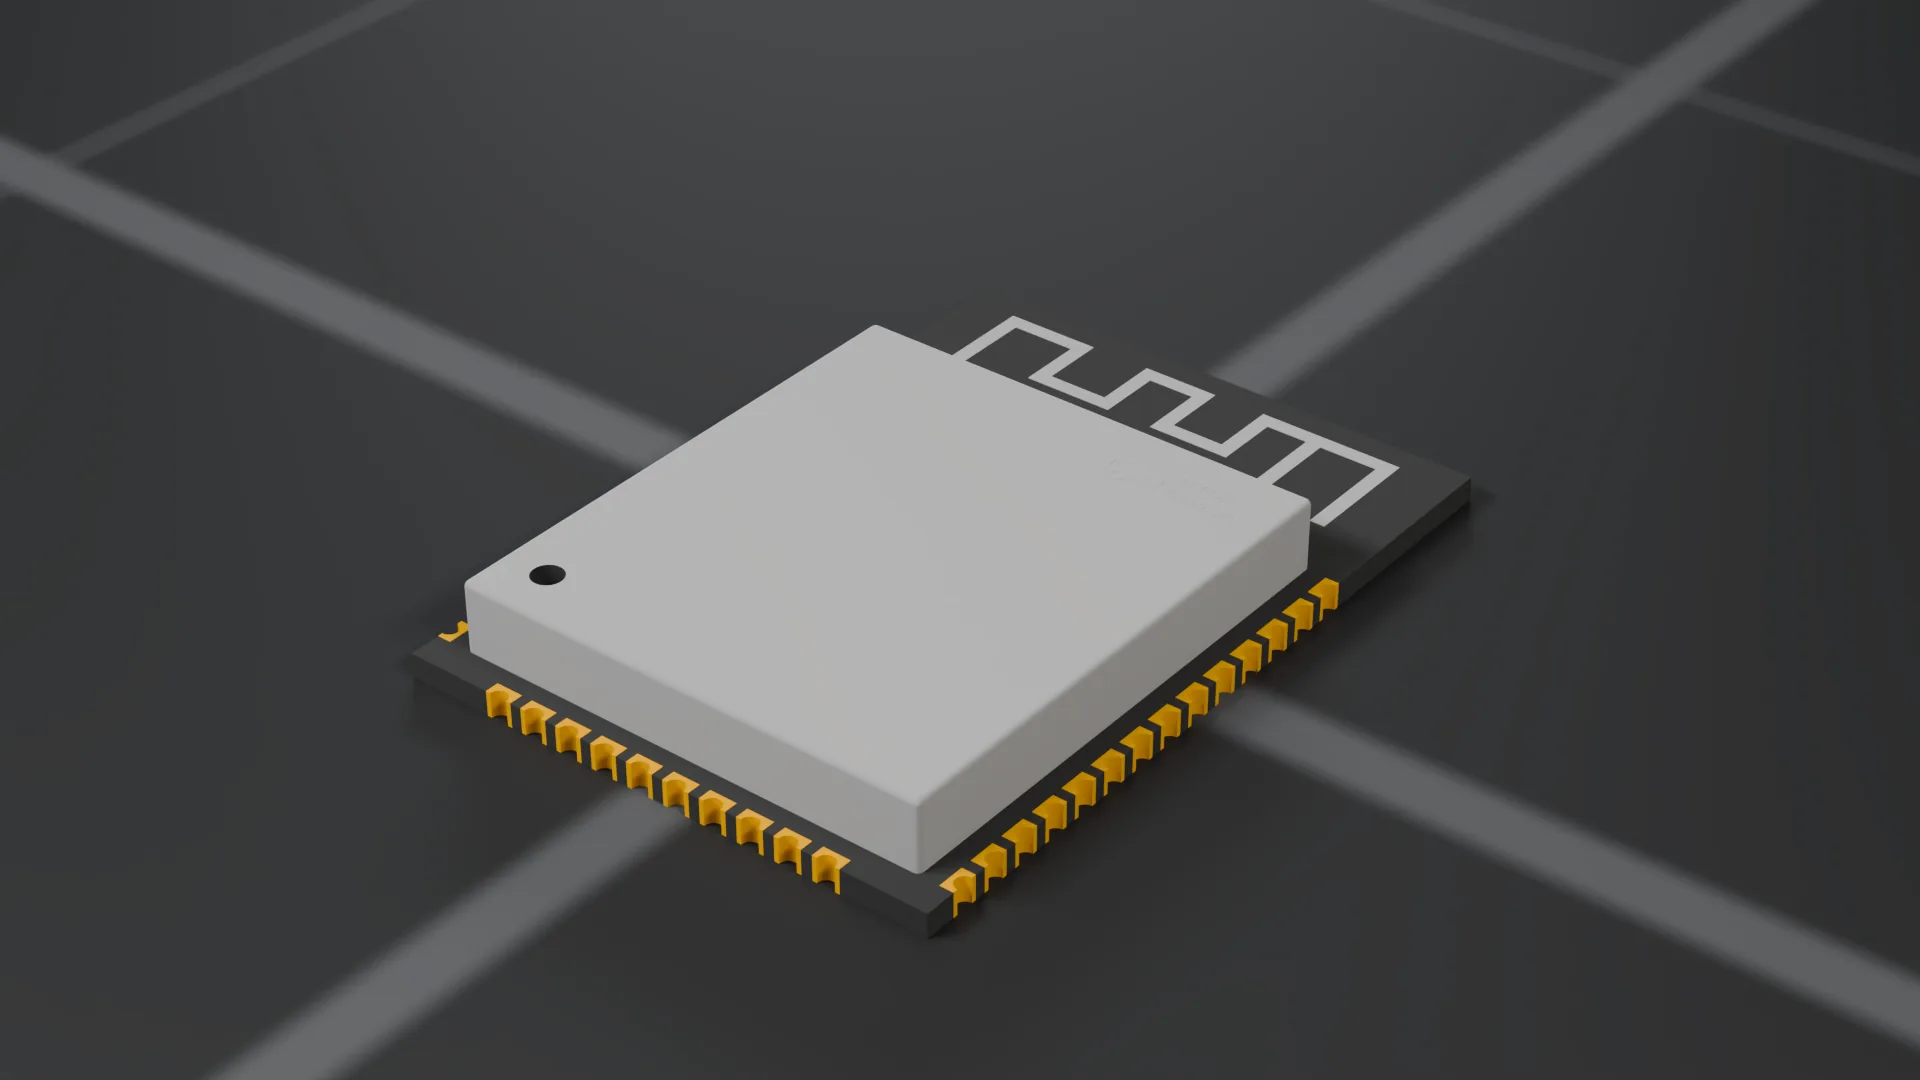
ESP32-C6 maps it to your fan.
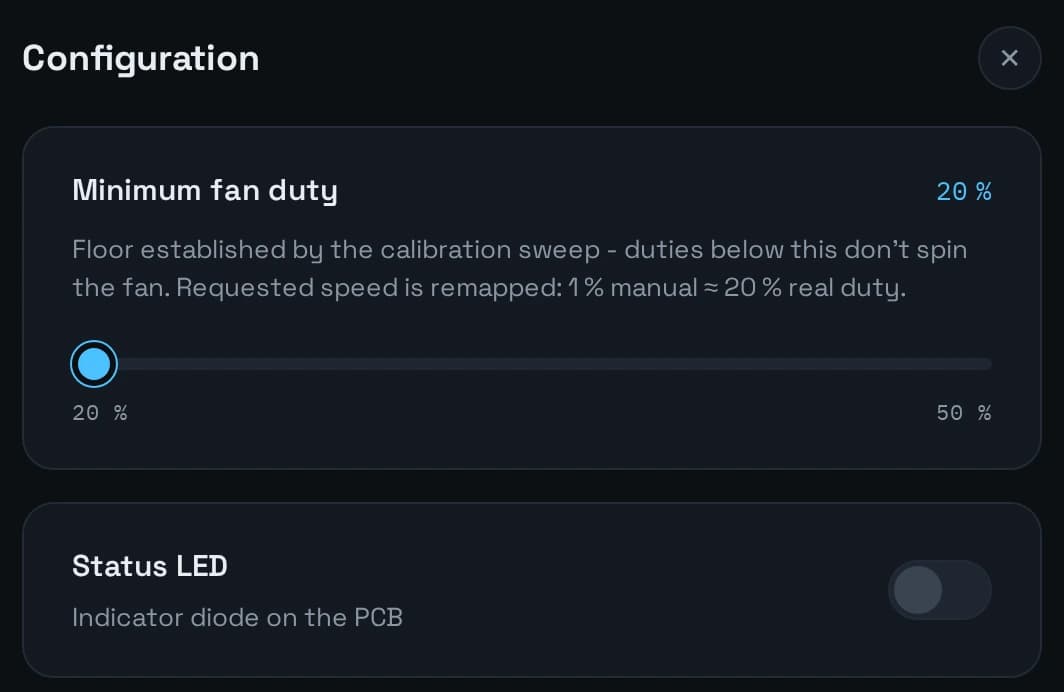
The firmware maps the command onto the fan’s working range. A calibration sweep finds the lowest duty that still gets it spinning.
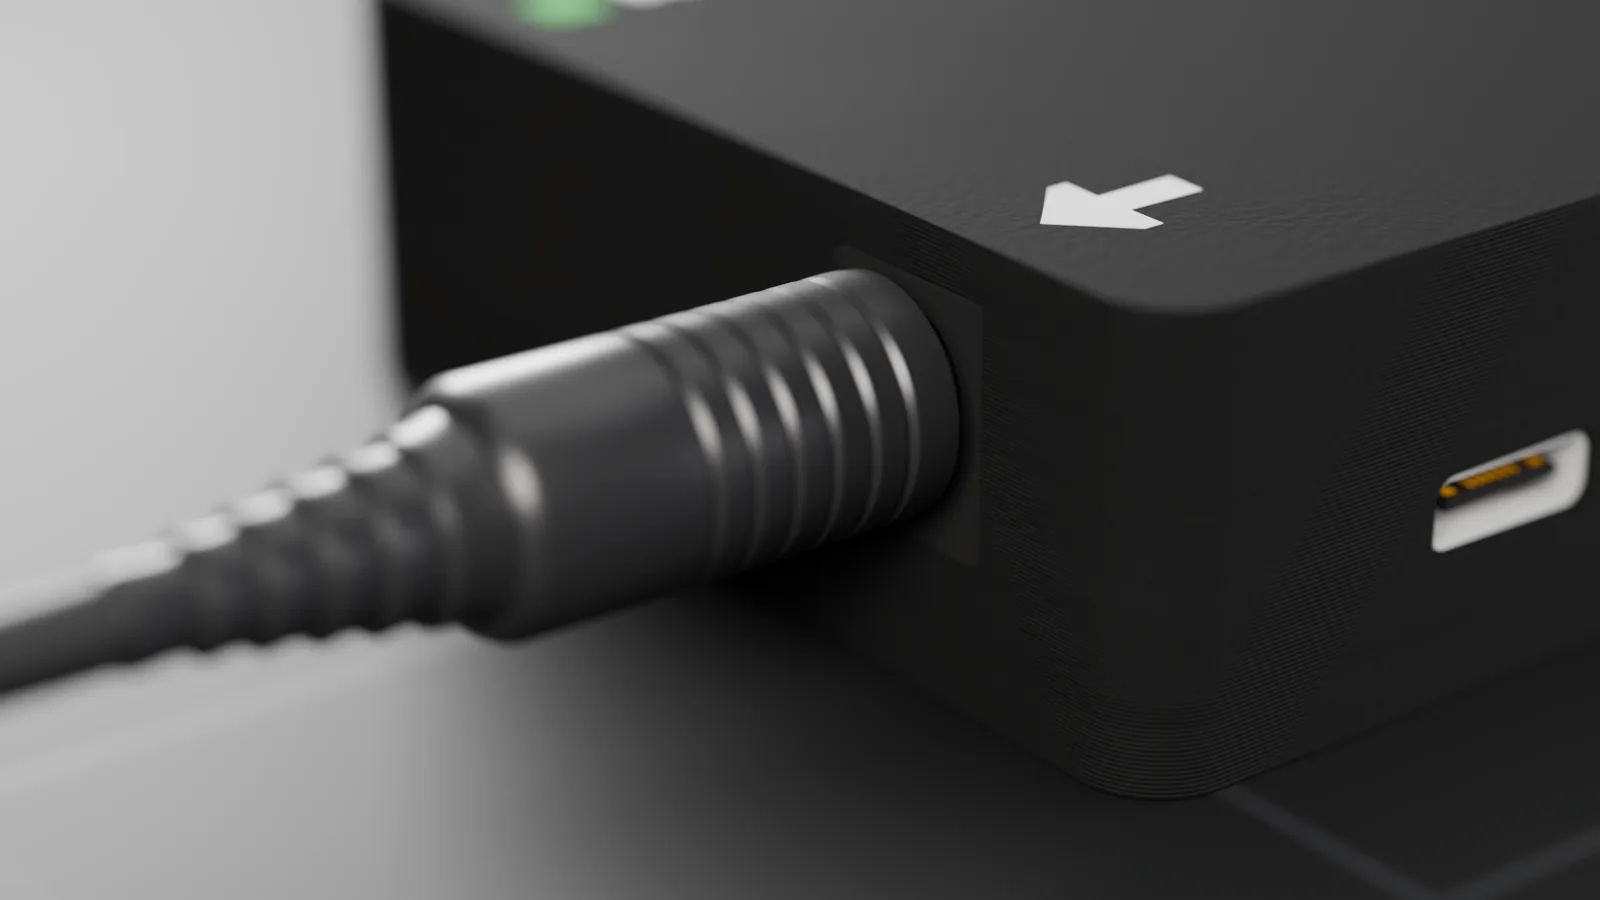
Smooth DC out, not a square wave.
A proper output filter smooths out the switching, so the fan gets a steady voltage from 0 V up to your supply.
Your air filter follows.
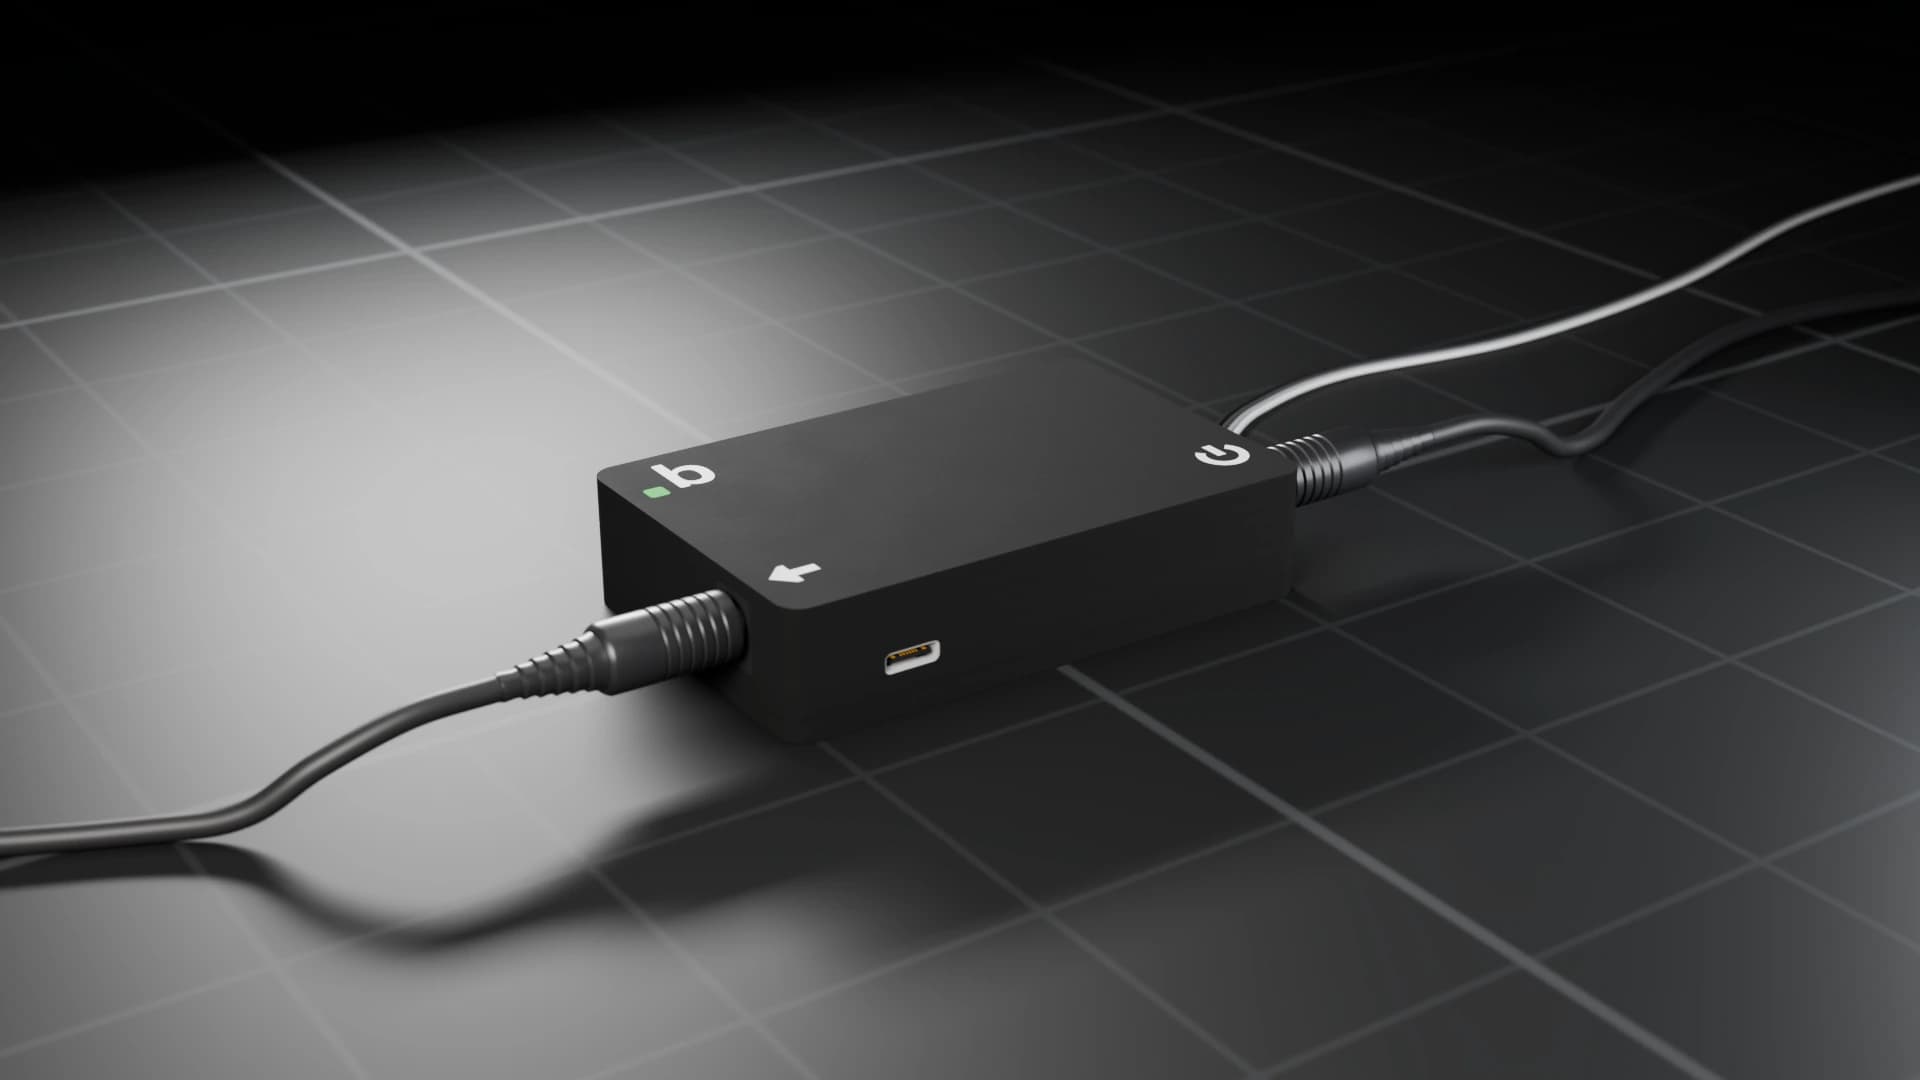
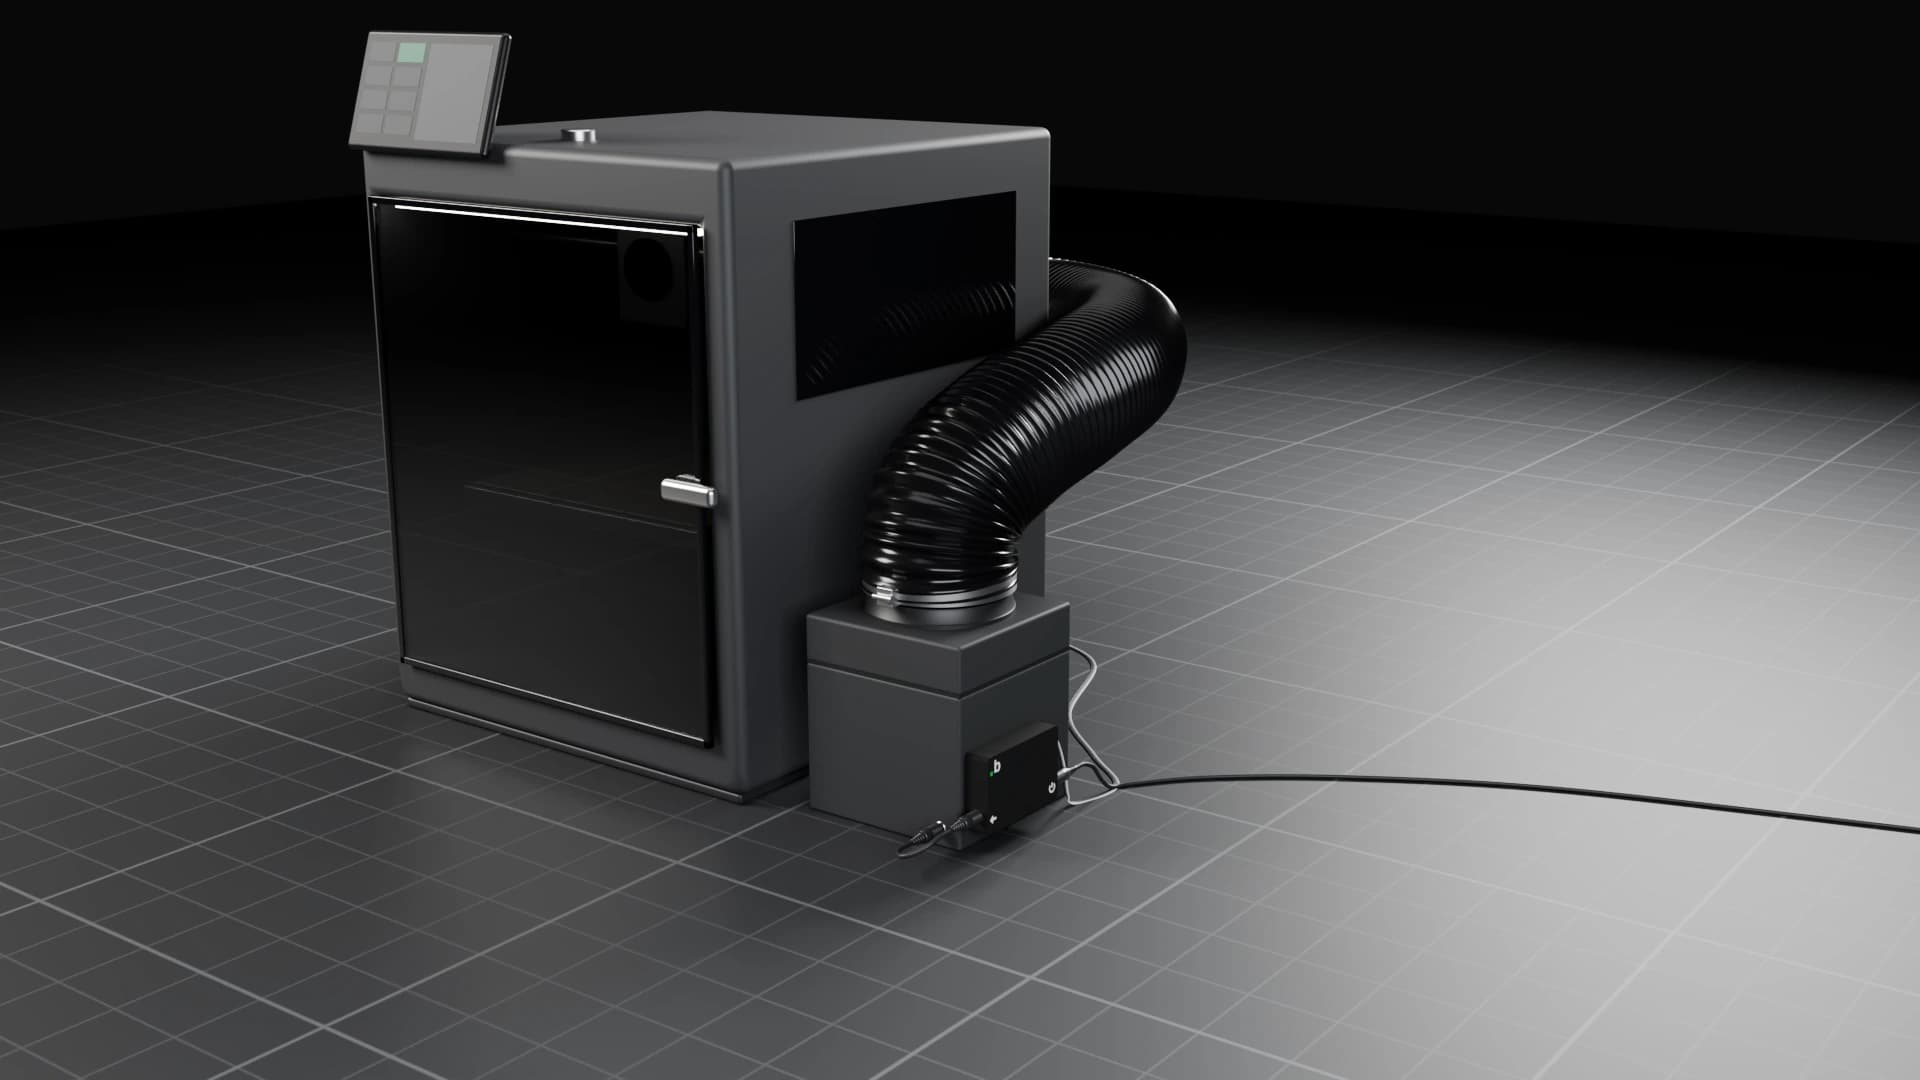
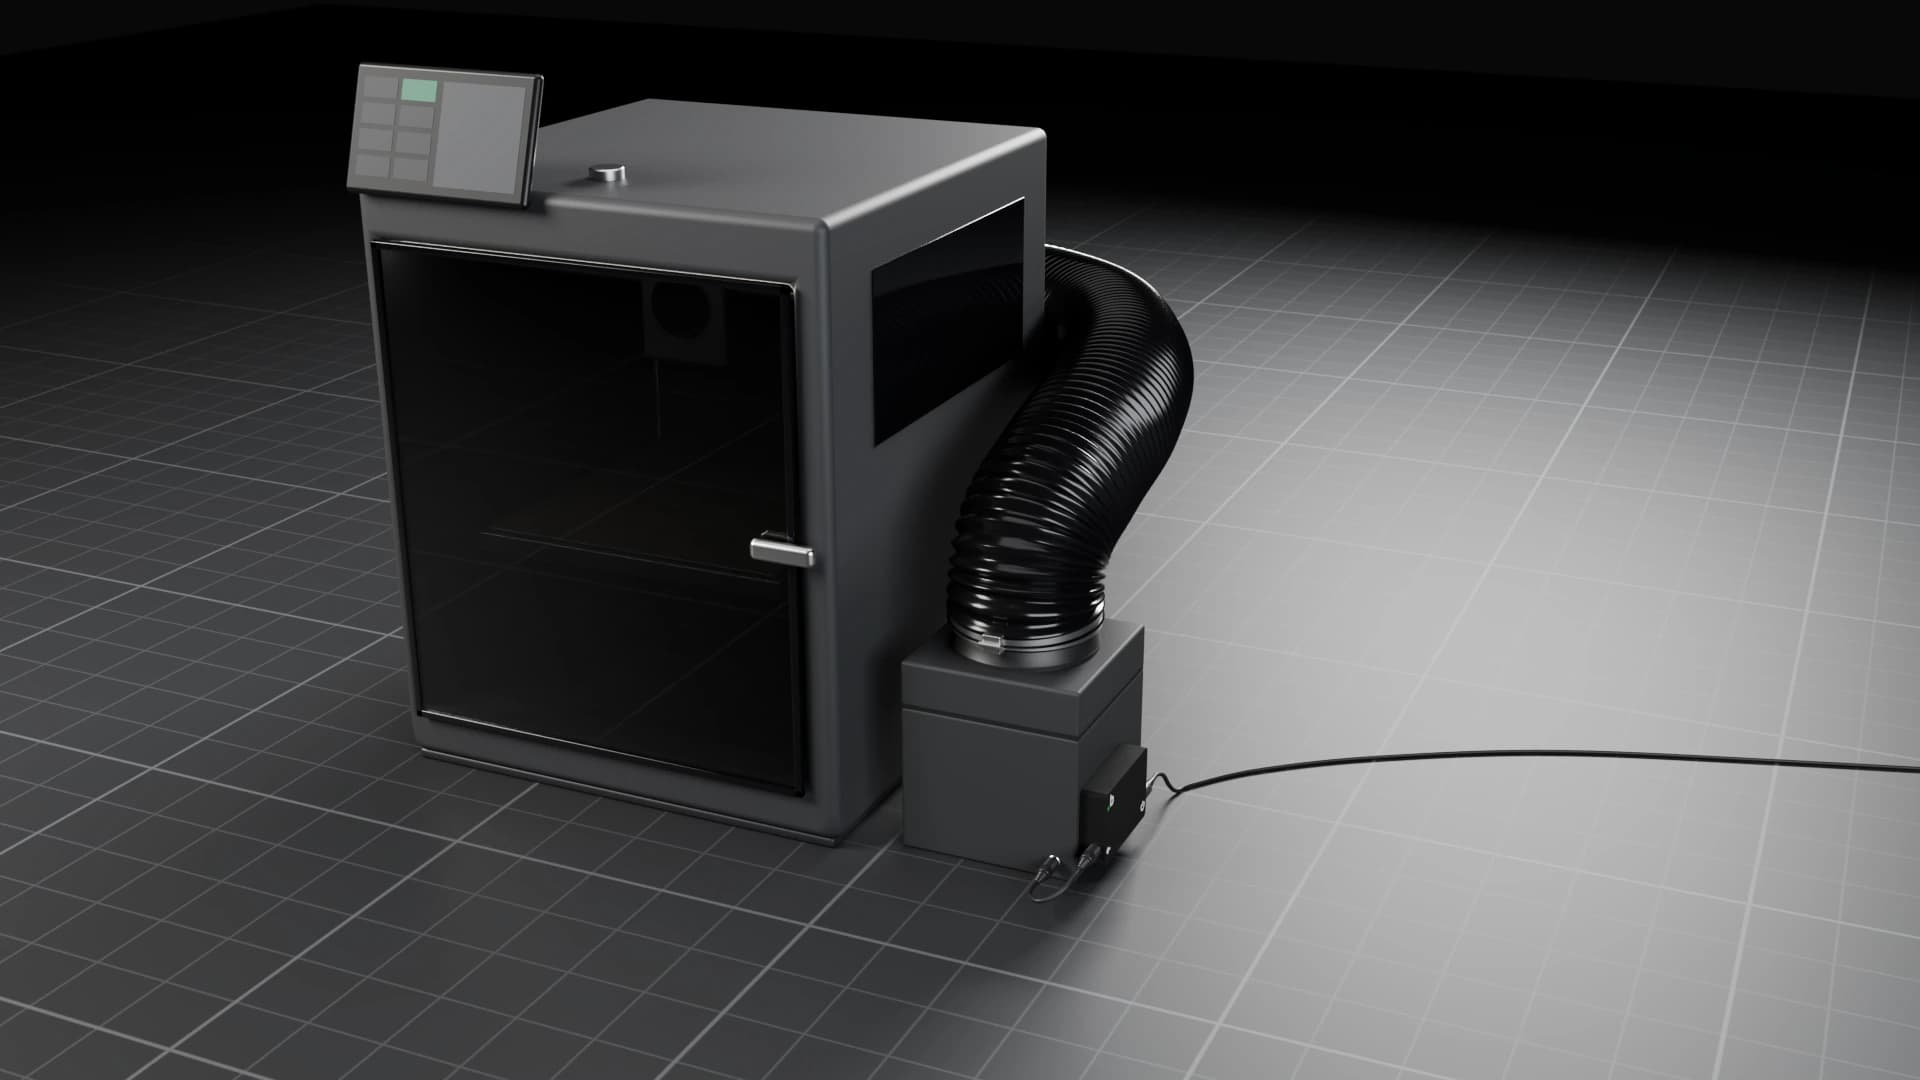
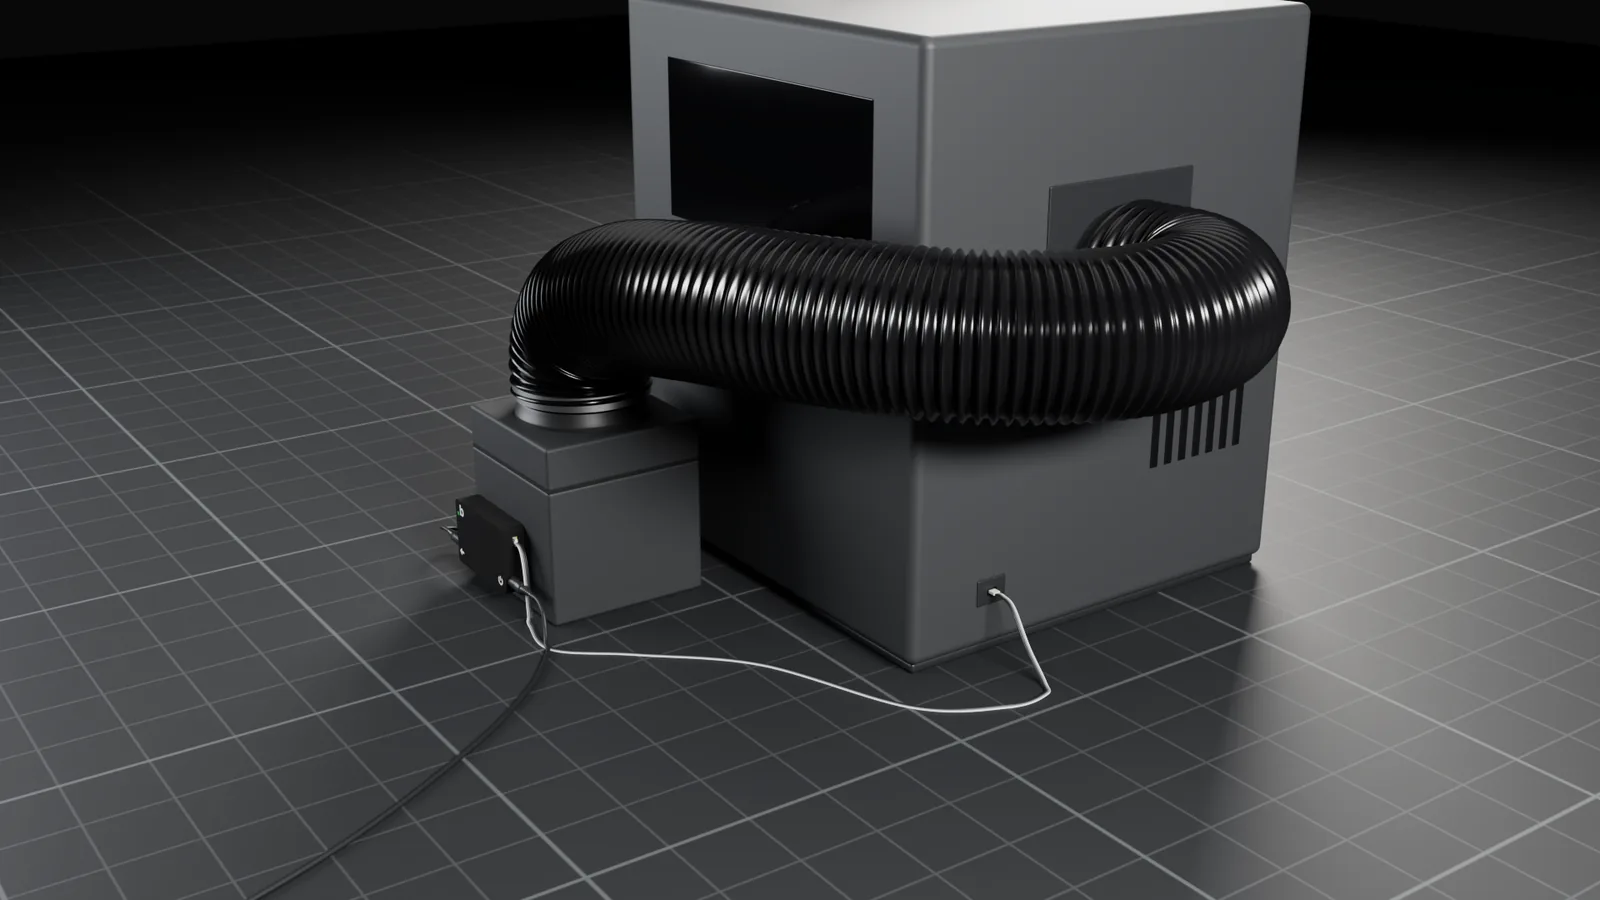
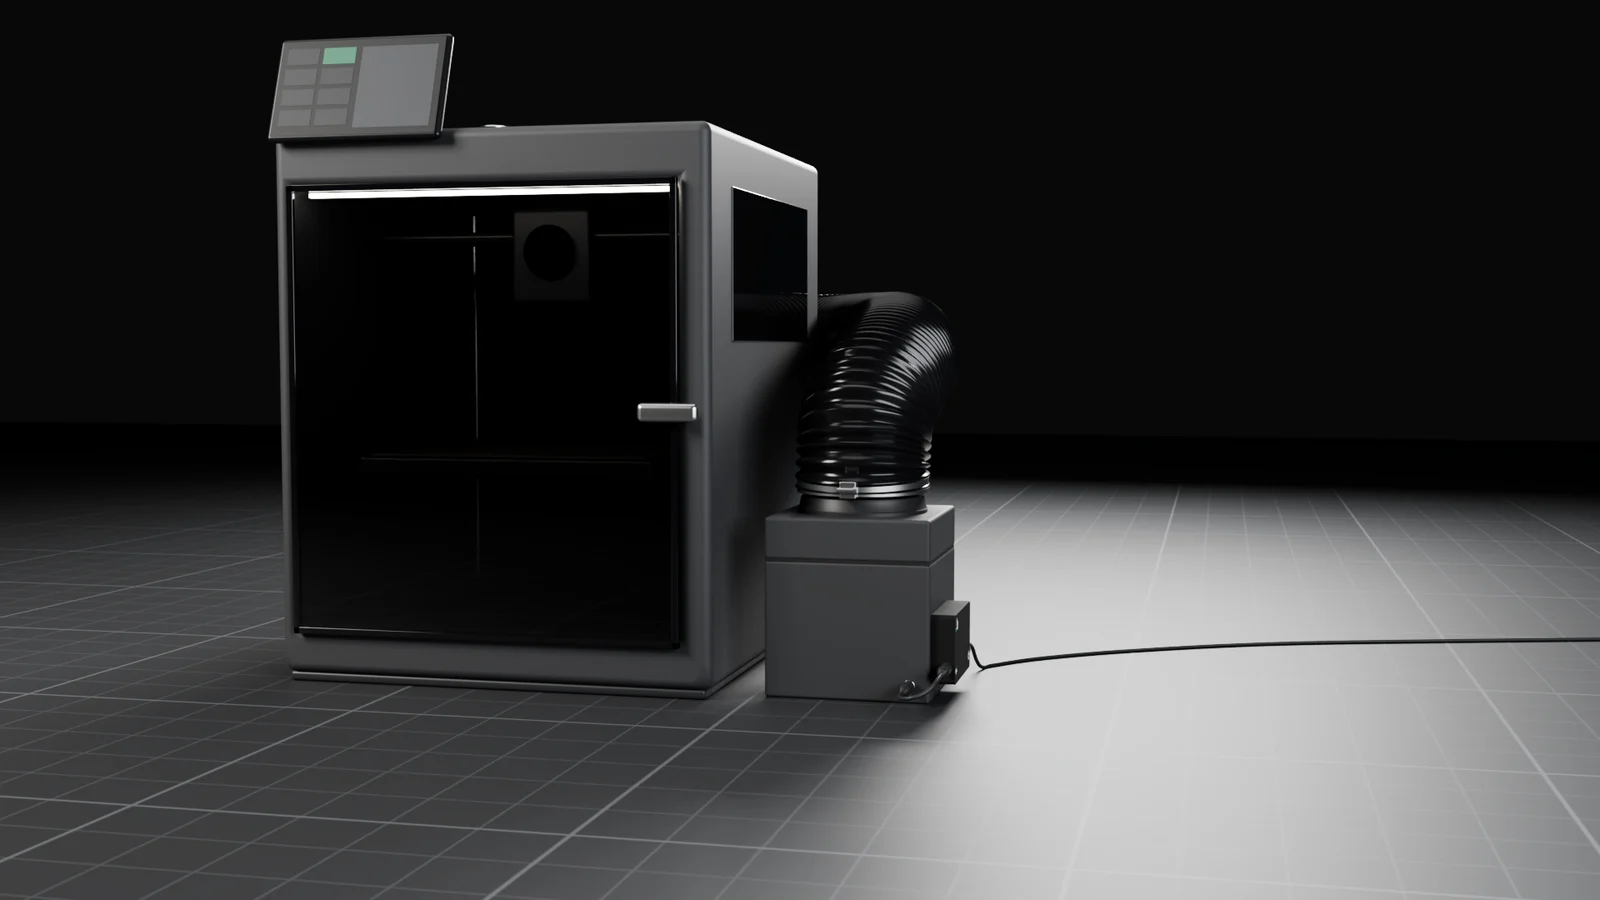
FanBridge sits on the side of your air filter: power into DC IN, the filter fan on DC OUT, the printer cable in the 4-pin port.
The printer reports its fans.
With the ha-bambulab integration, Home Assistant reads your Bambu Lab printer over the local network, including the chamber fan speed it sets during a print.
Home Assistant copies the speed.
Just one automation: when the chamber fan speed changes, set FanBridge’s Manual Fan Speed to match. Shown here with a sample Bambu Lab X2D.
sensor.x2d_chamber_fan_speedChamber fan speed changes
Set Manual Fan Speed to the same value
number.fanbridge_manual_fan_speedalias: Air filter follows the X2Dtriggers:- trigger: stateentity_id: sensor.x2d_chamber_fan_speedactions:- action: number.set_valuetarget:entity_id: number.fanbridge_manual_fan_speeddata:value: "{{ states('sensor.x2d_chamber_fan_speed') | int(0) }}"
- ha-bambulab brings the printer into Home Assistant over your local network, with a speed sensor for each fan. Read the docs
- FanBridge joins through the ESPHome integration. With no printer cable in, its Manual Fan Speed is free to set.
- Entity names come from your device names.
x2dandfanbridgeare just examples.
ESP32-C6 maps it to your fan.
The value arrives over Wi-Fi through the ESPHome API. The firmware maps it onto the fan’s working range, above the floor the calibration sweep found.
Smooth DC out, not a square wave.
A proper output filter smooths out the switching, so the fan gets a steady voltage from 0 V up to your supply.
Your air filter follows.
FanBridge sits on the side of your air filter: power into DC IN, the filter fan on DC OUT. The 4-pin printer port stays empty.
Open it up.
Here’s what’s inside: one board, 85 x 54 mm, in a matte 3D-printed case. Every port has one job.
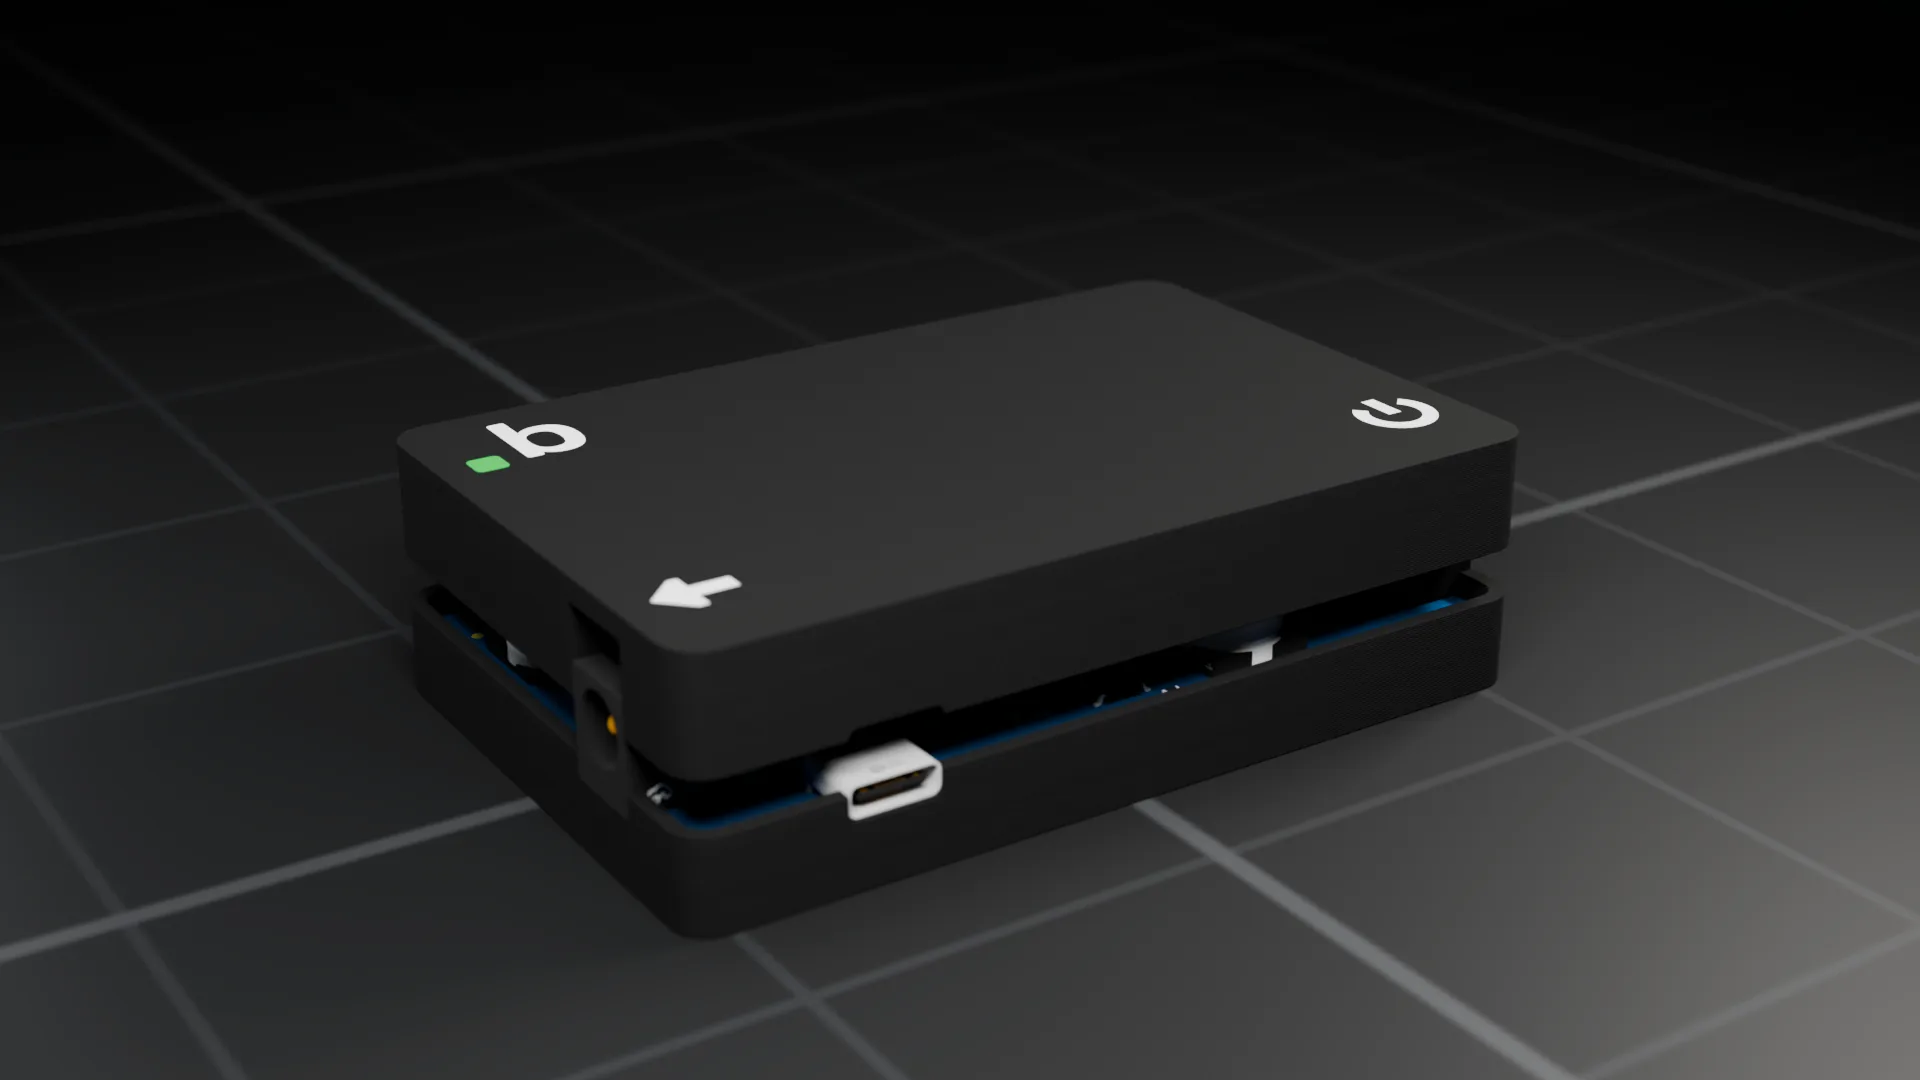
The 4-pin printer port.
Auto mode: all four pins in use.
Manual mode: this port stays empty.
- Input
- 9-24 V DC, barrel jack
- Output
- Filtered DC, 0 V to input, barrel jack
- Protection
- Reverse-polarity diode on DC IN
- Logic supply
- Buck to 5 V, then 3.3 V
- Module
- ESP32-C6-WROOM-1, 4 MB flash
- Wireless
- 2.4 GHz Wi-Fi
- Firmware
- ESPHome, open config
- Service
- USB-C, BOOT, RESET, status LED
- Case
- 3D-printed PLA, matte
- Size
- 88 x 58 x 20 mm
- Printer port
- GH 1.25, 4-pin
- Tested with
- Bambu Lab printers, Mintion Air Filter V1
Its own page on your network.
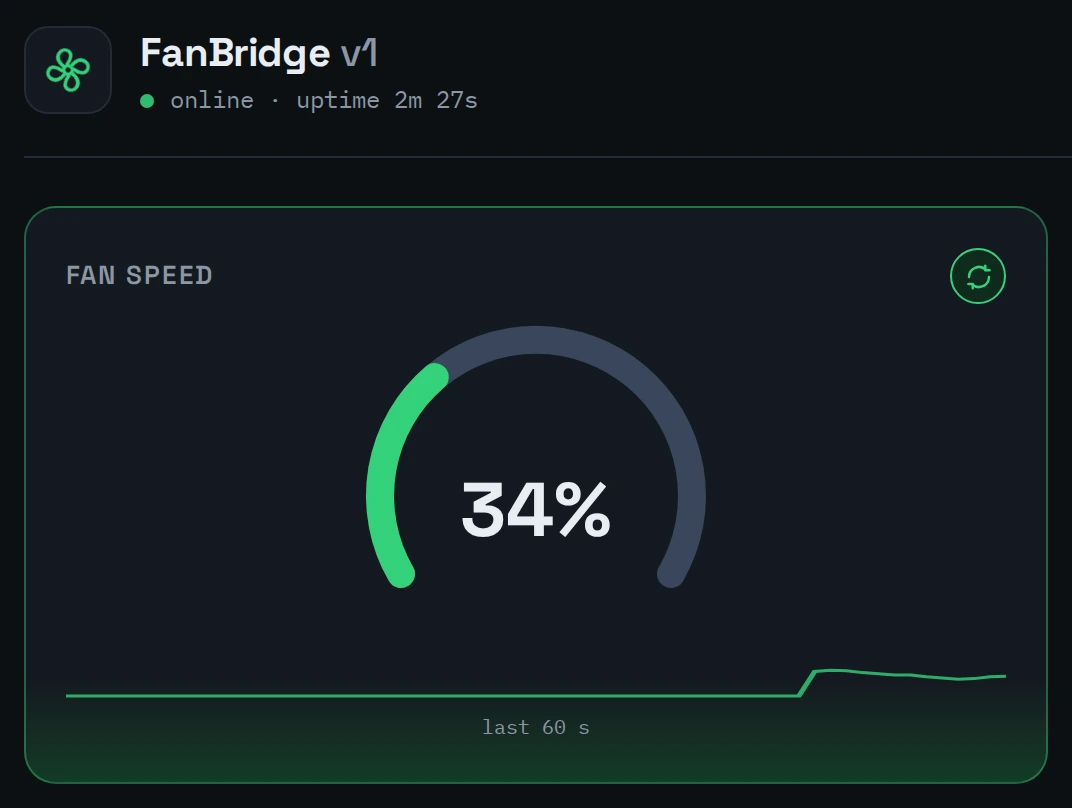
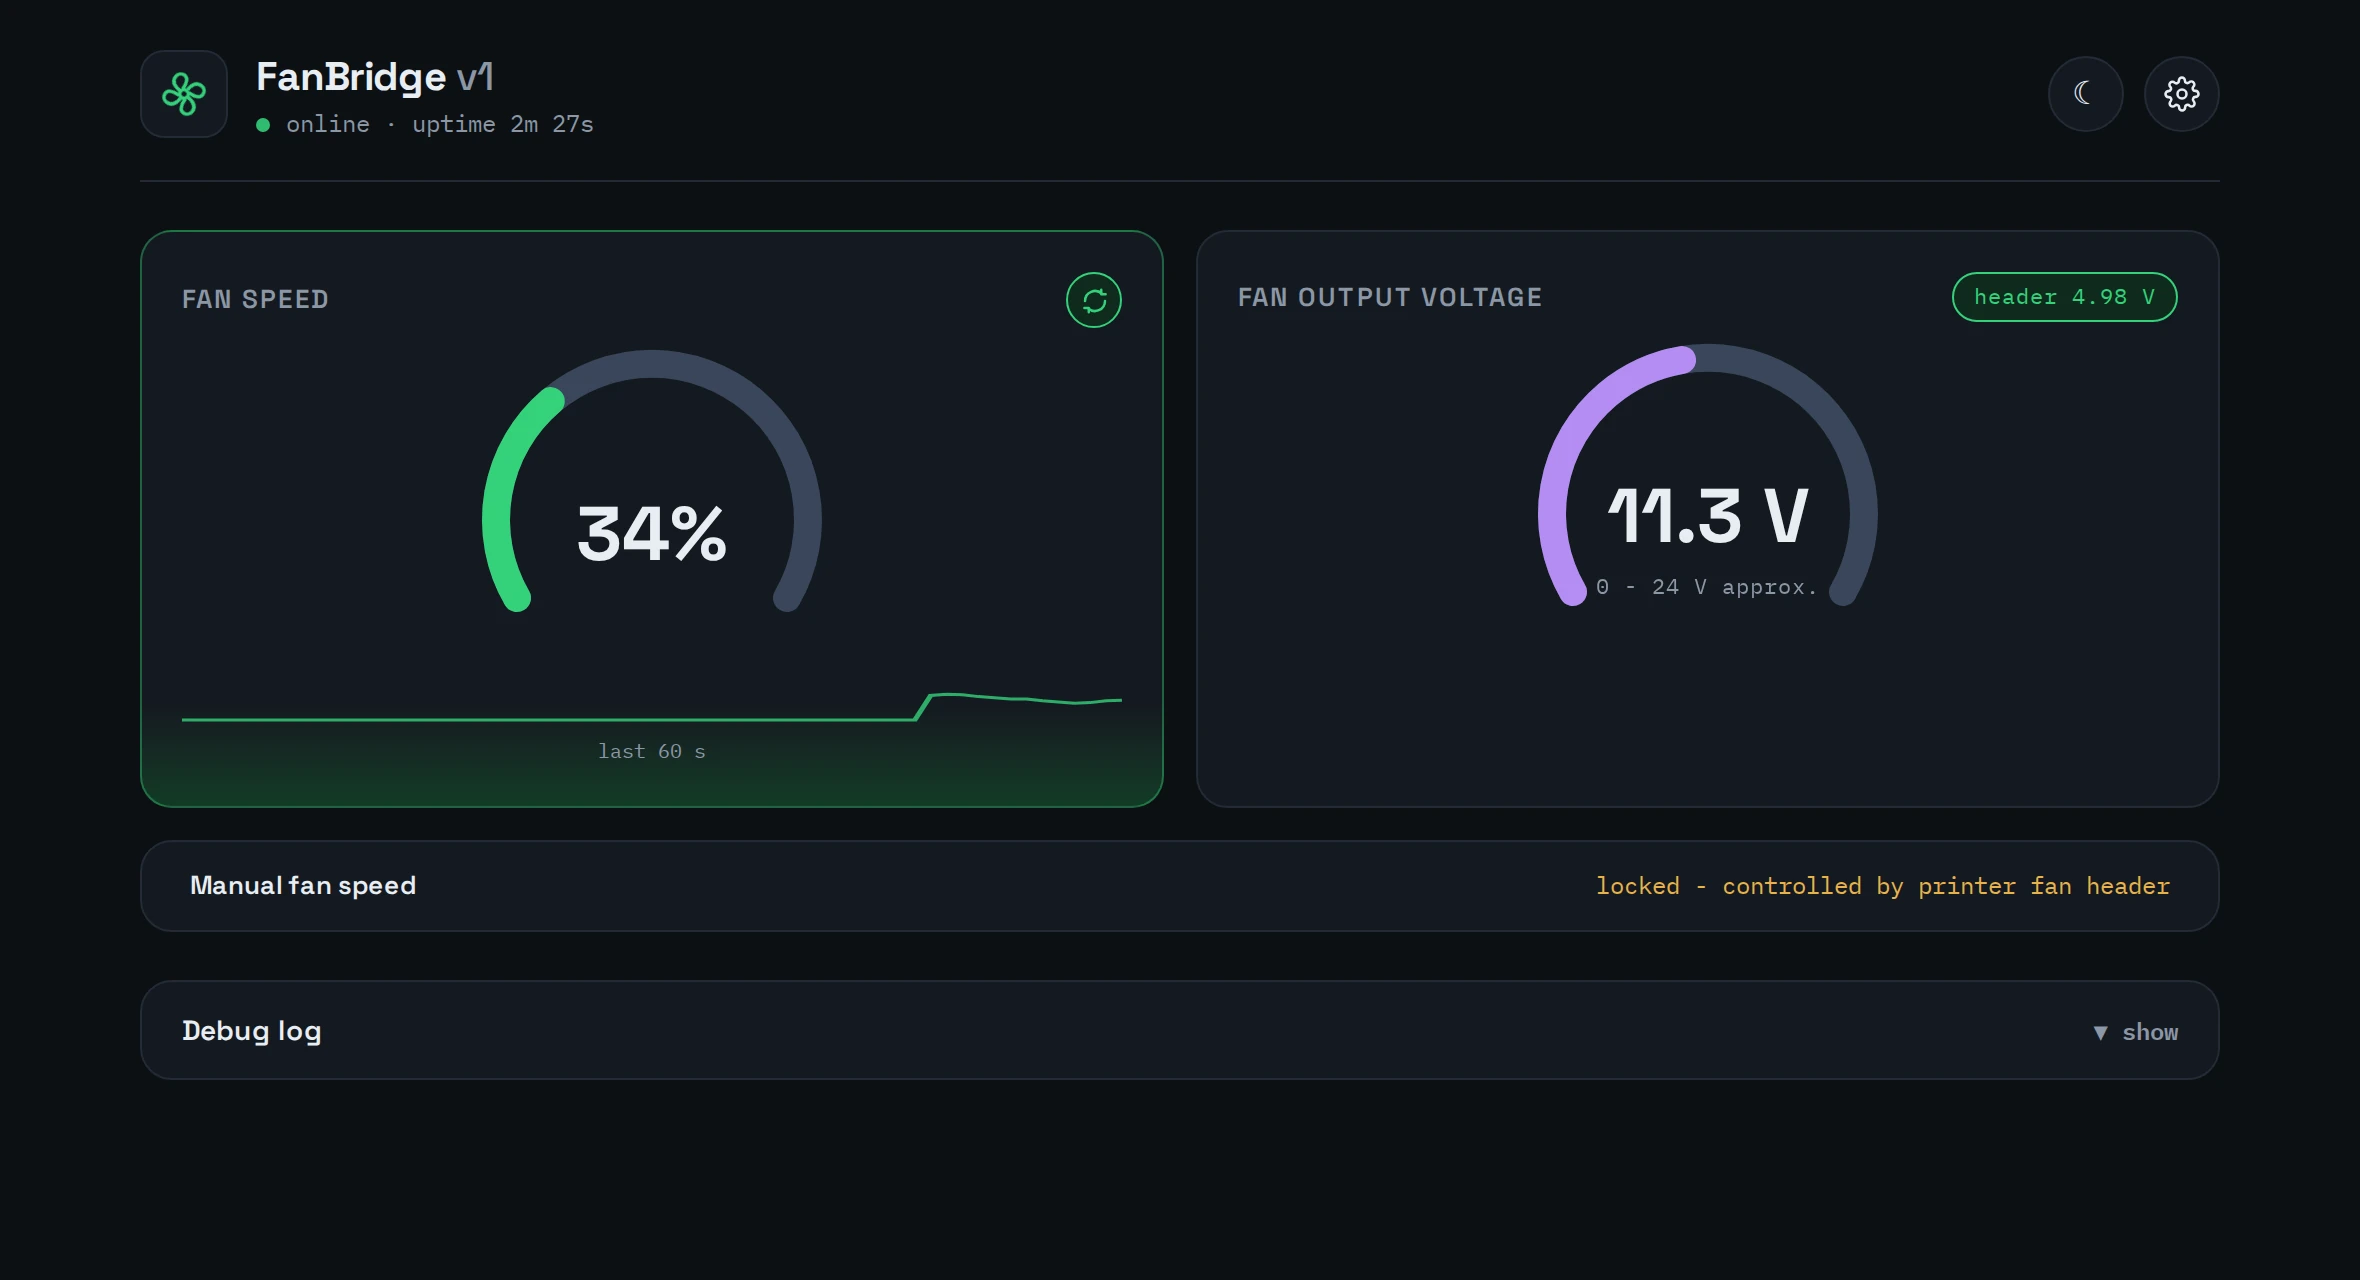
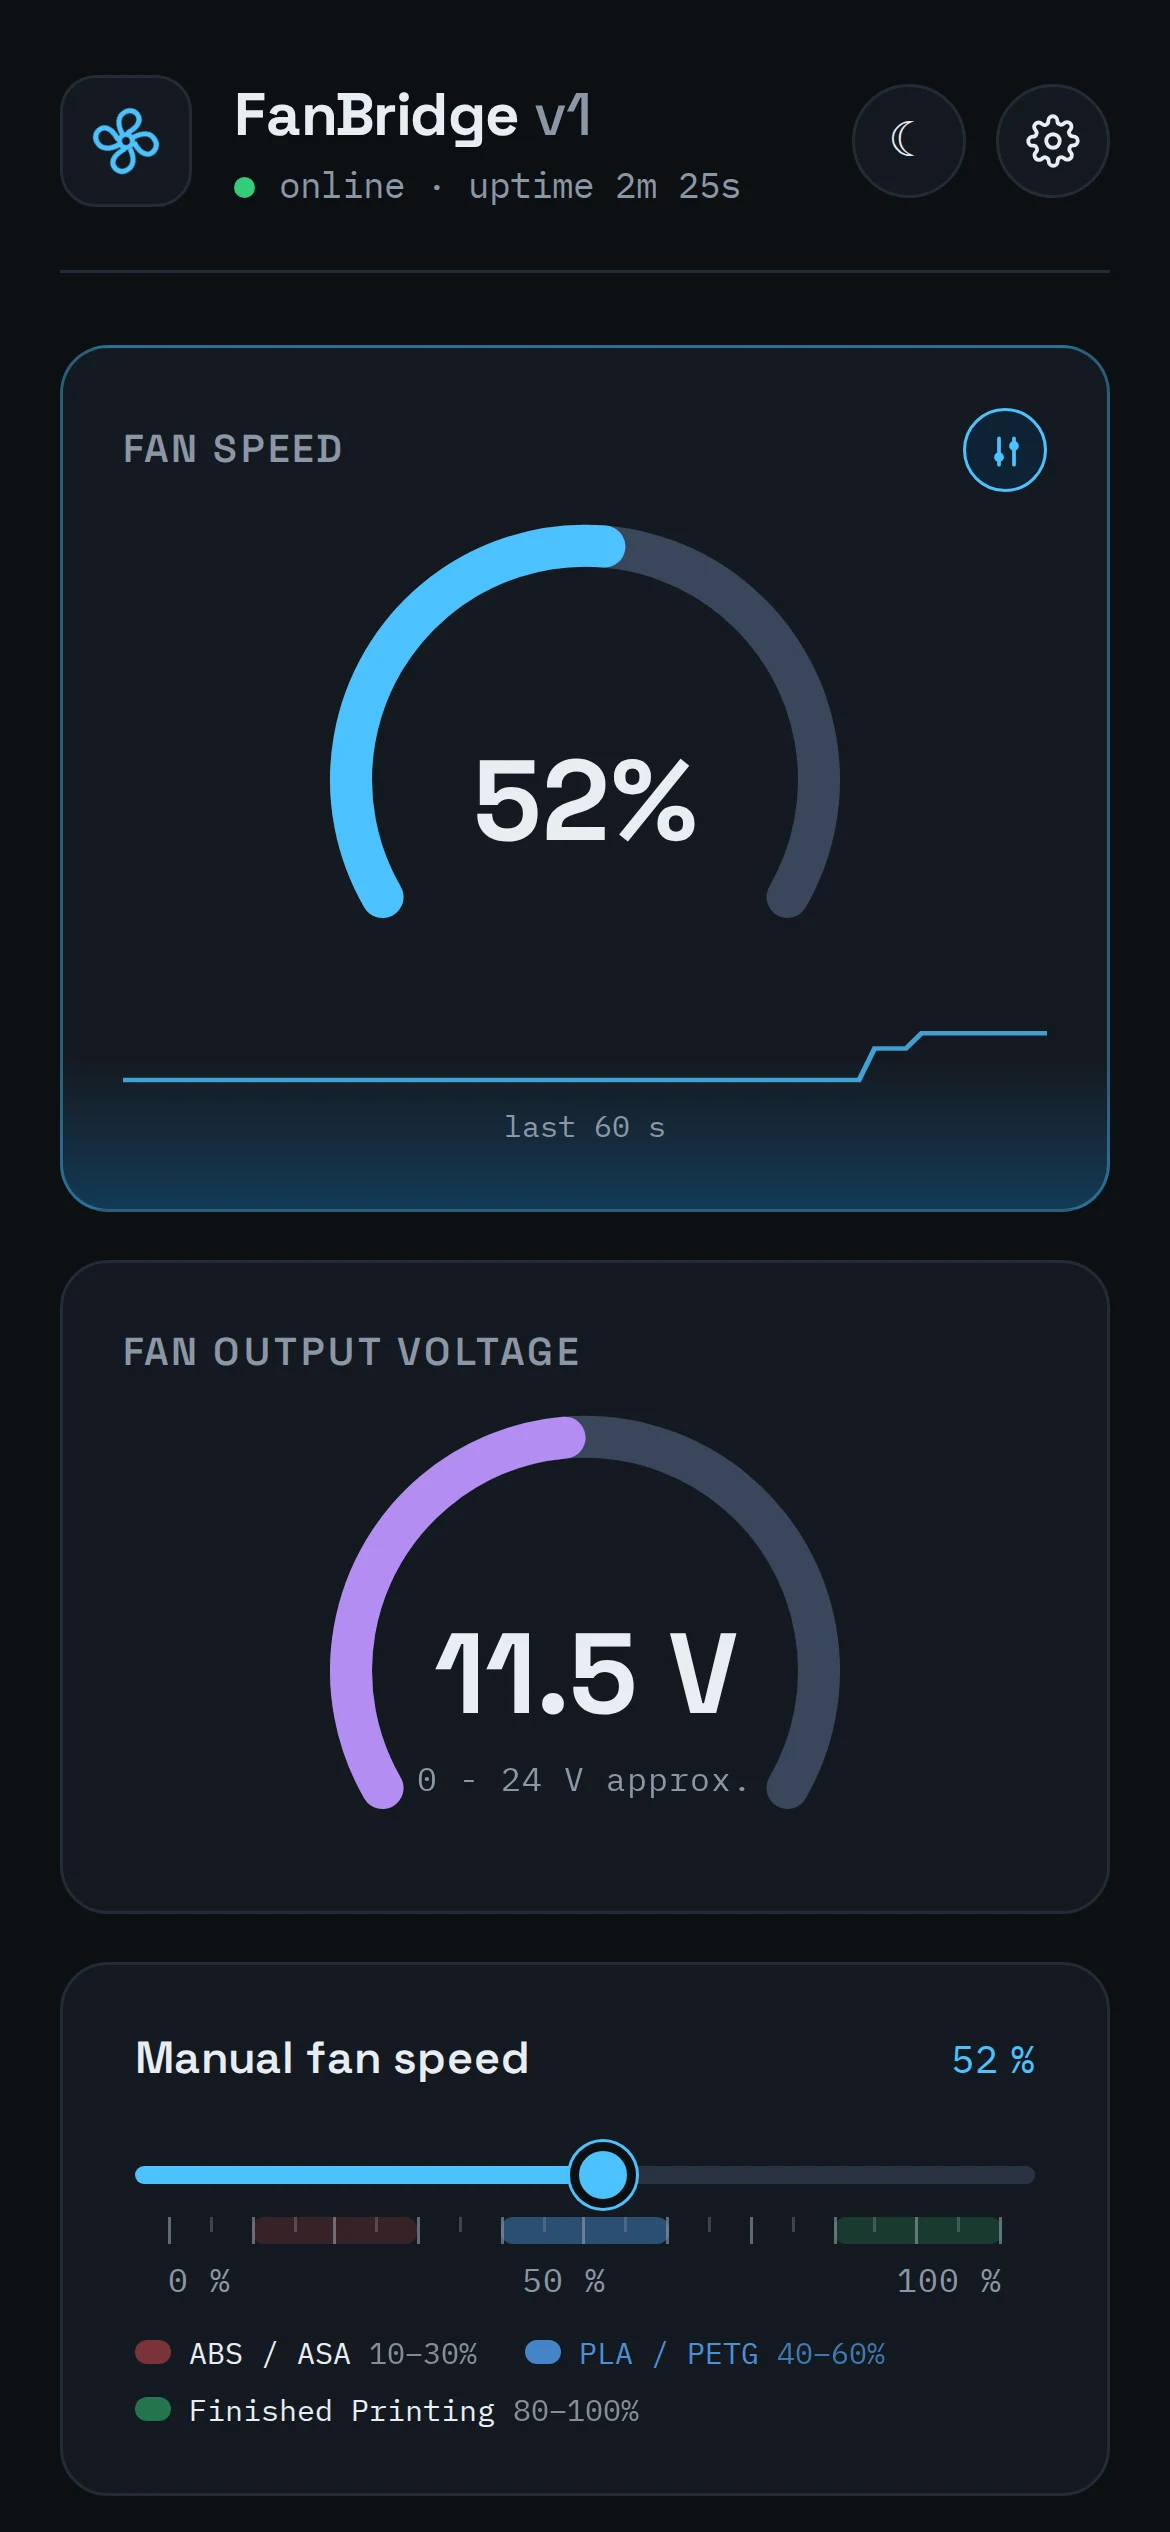
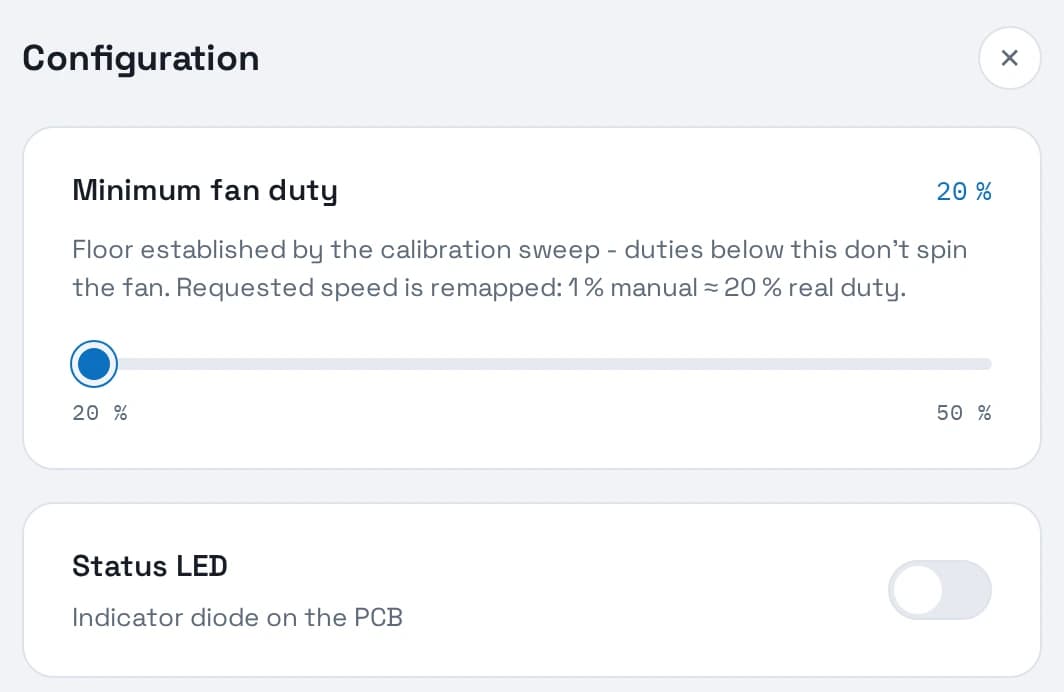
Open FanBridge in any browser to see live speed, output voltage, the last minute of history, presets and the calibration floor. No account, no cloud, no app to install.
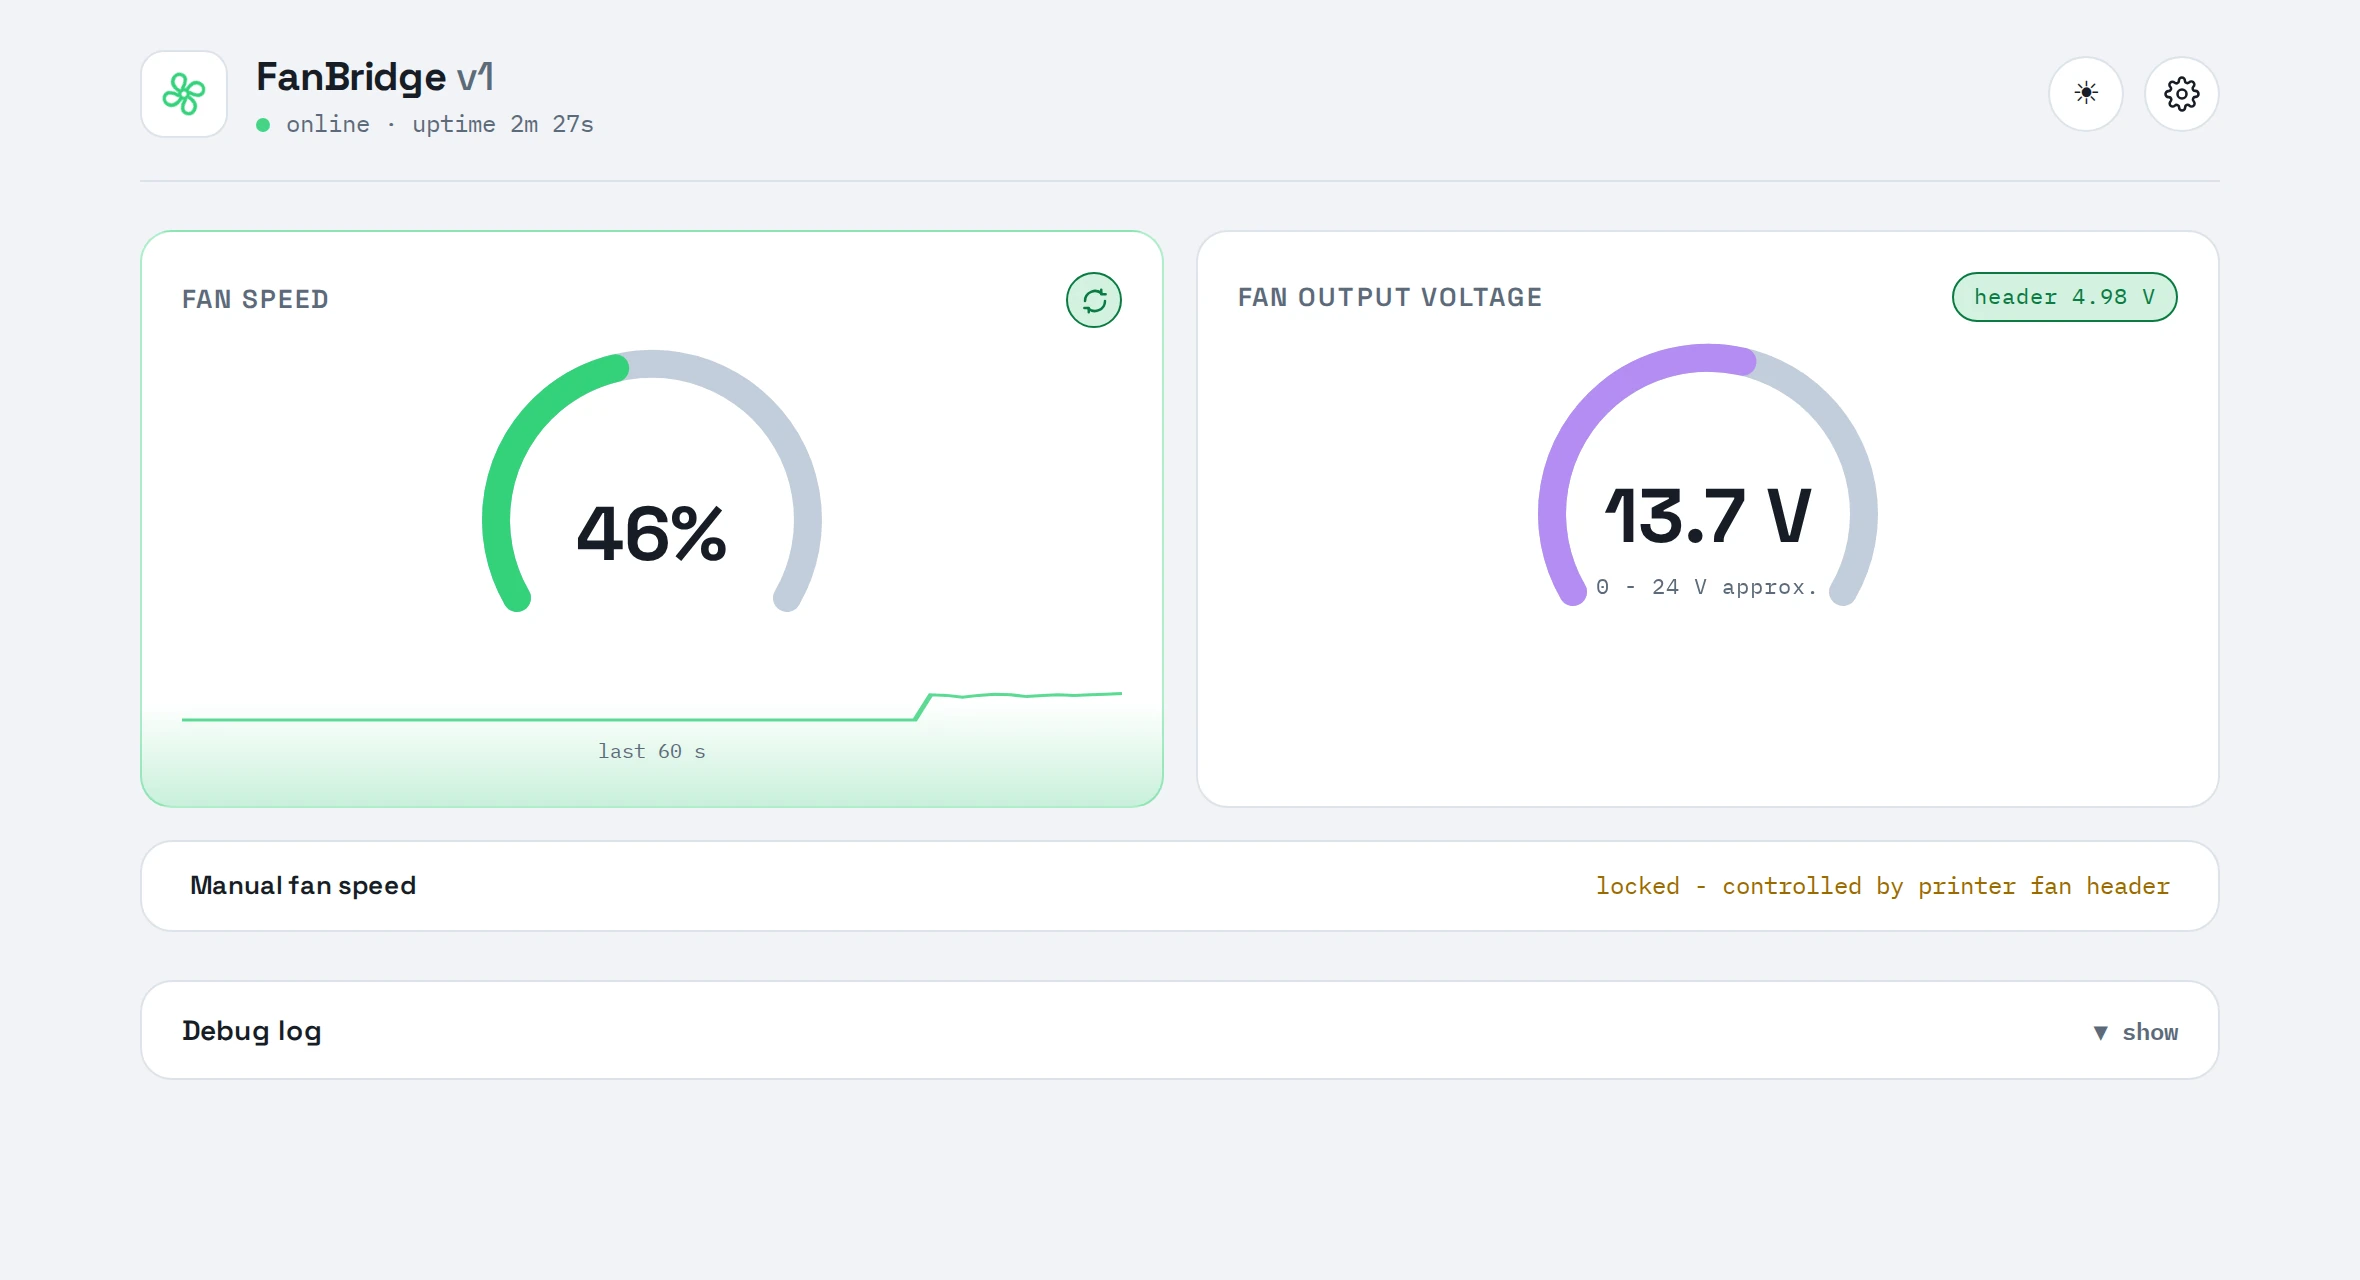
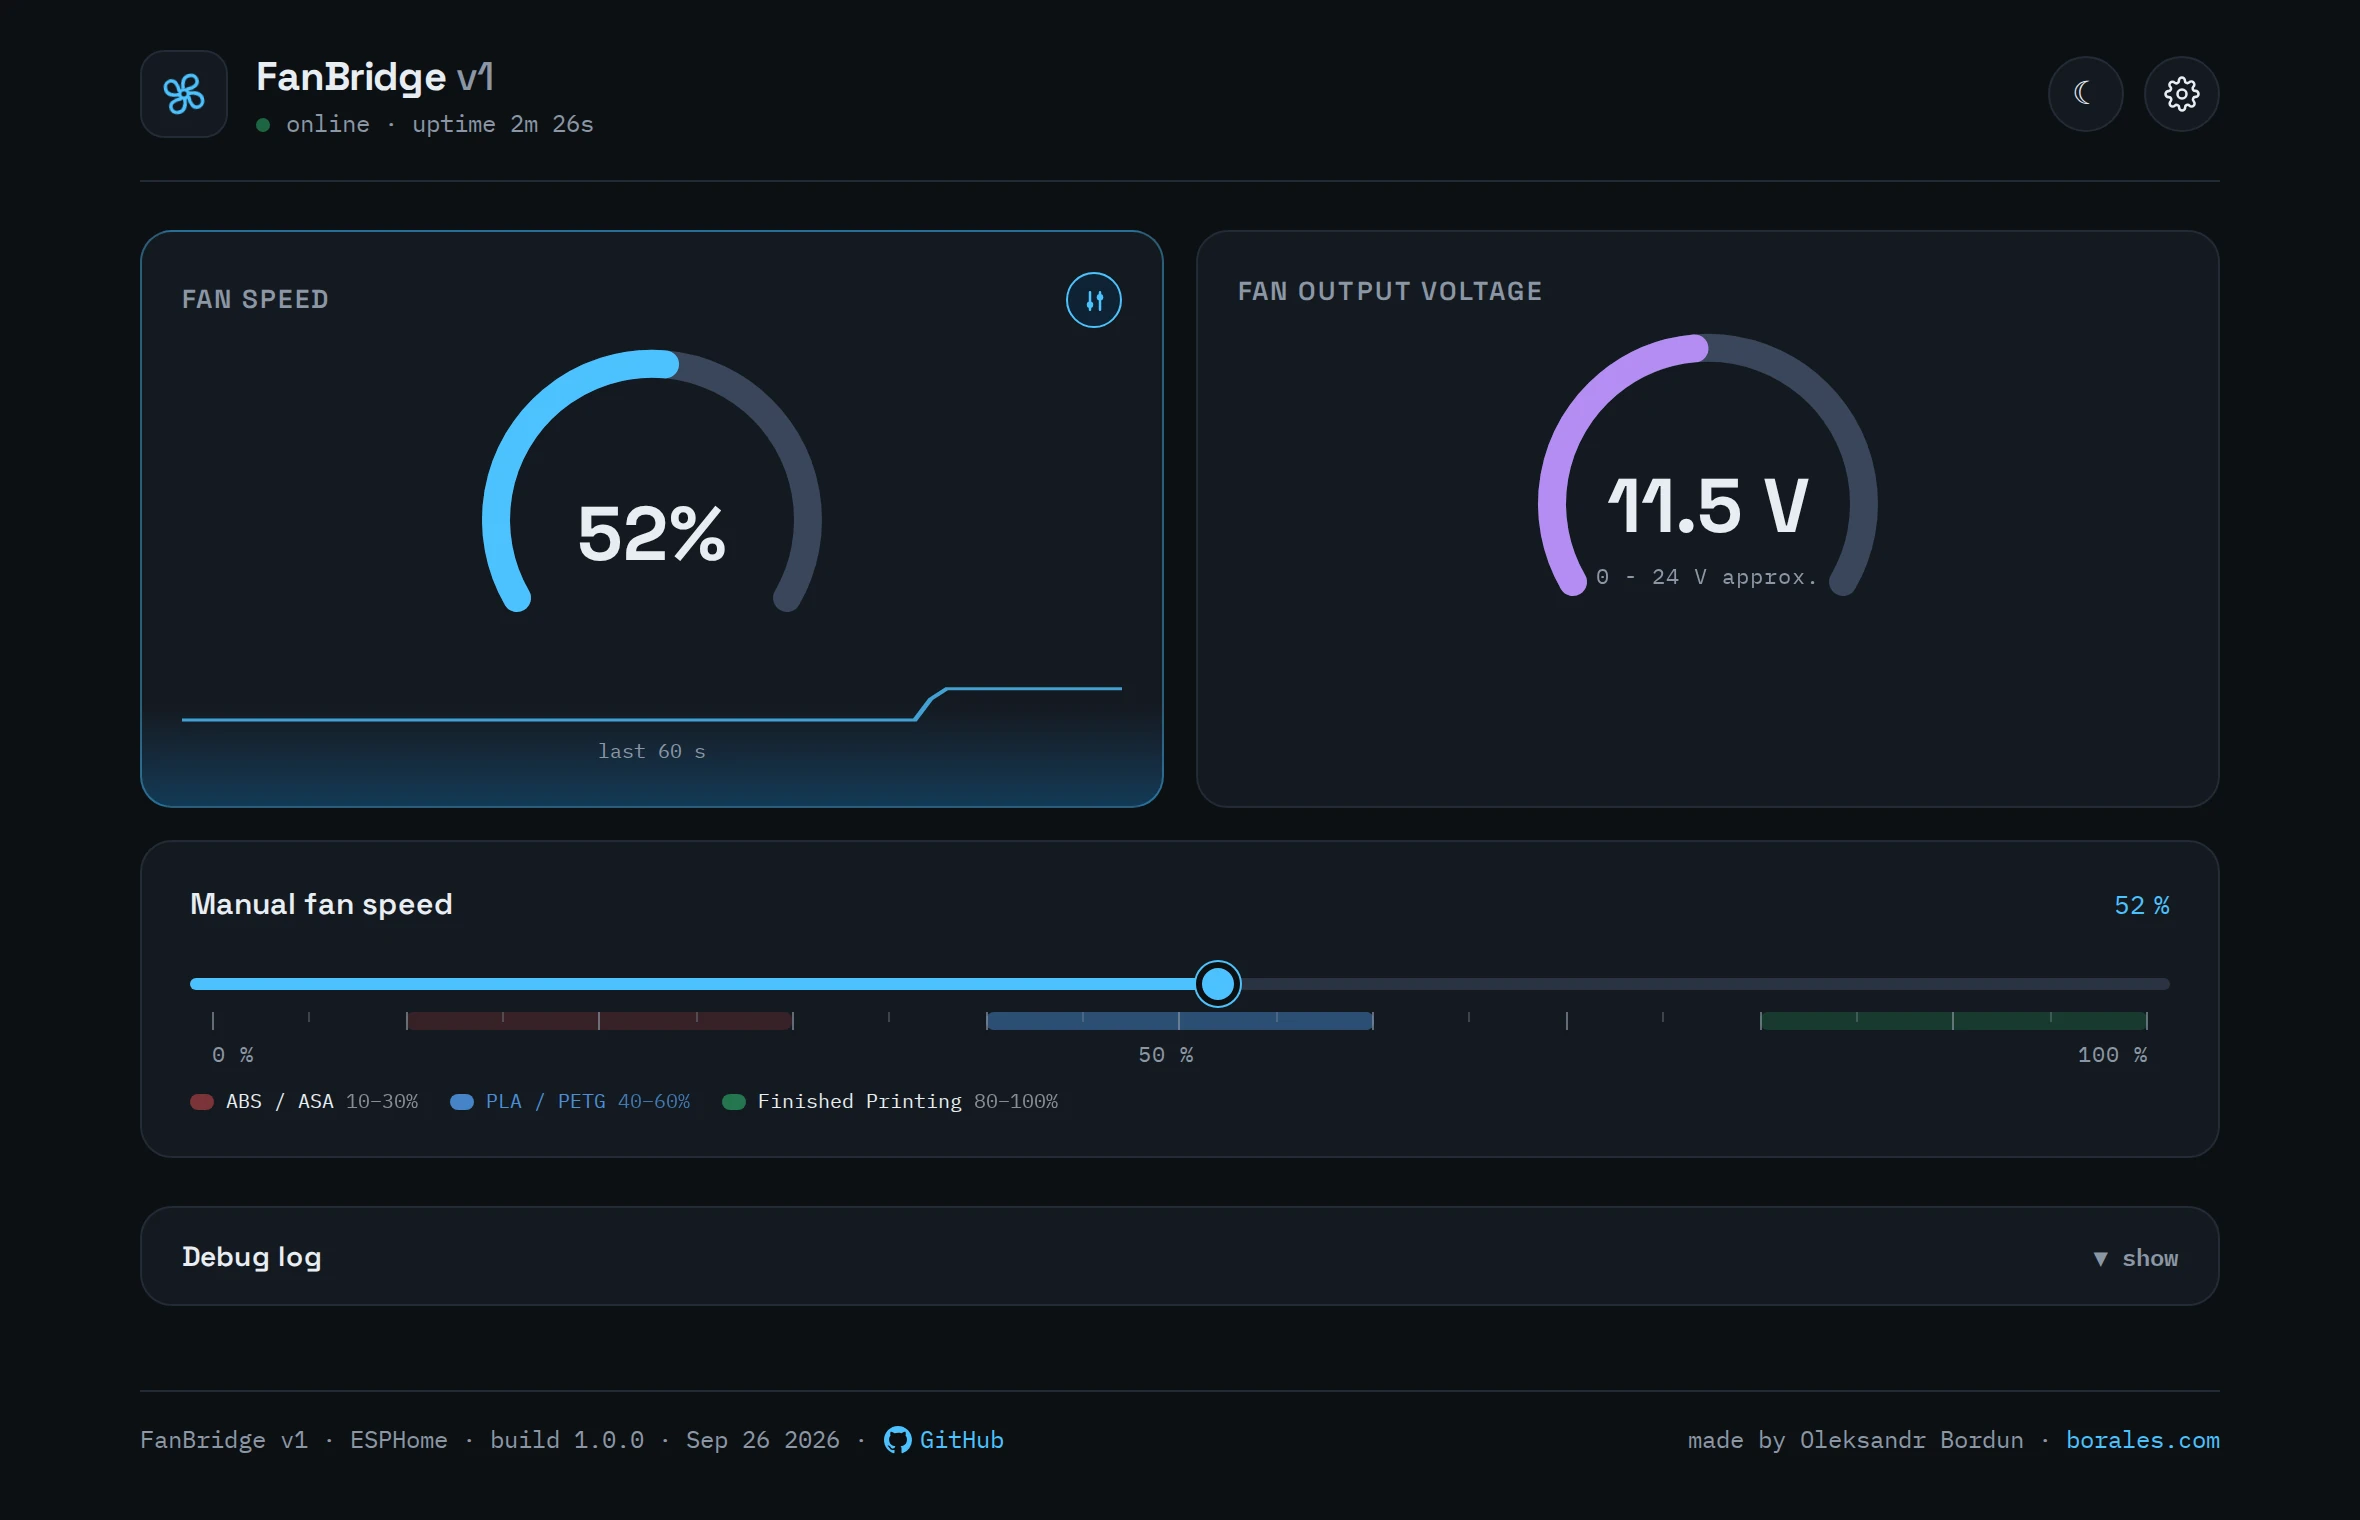
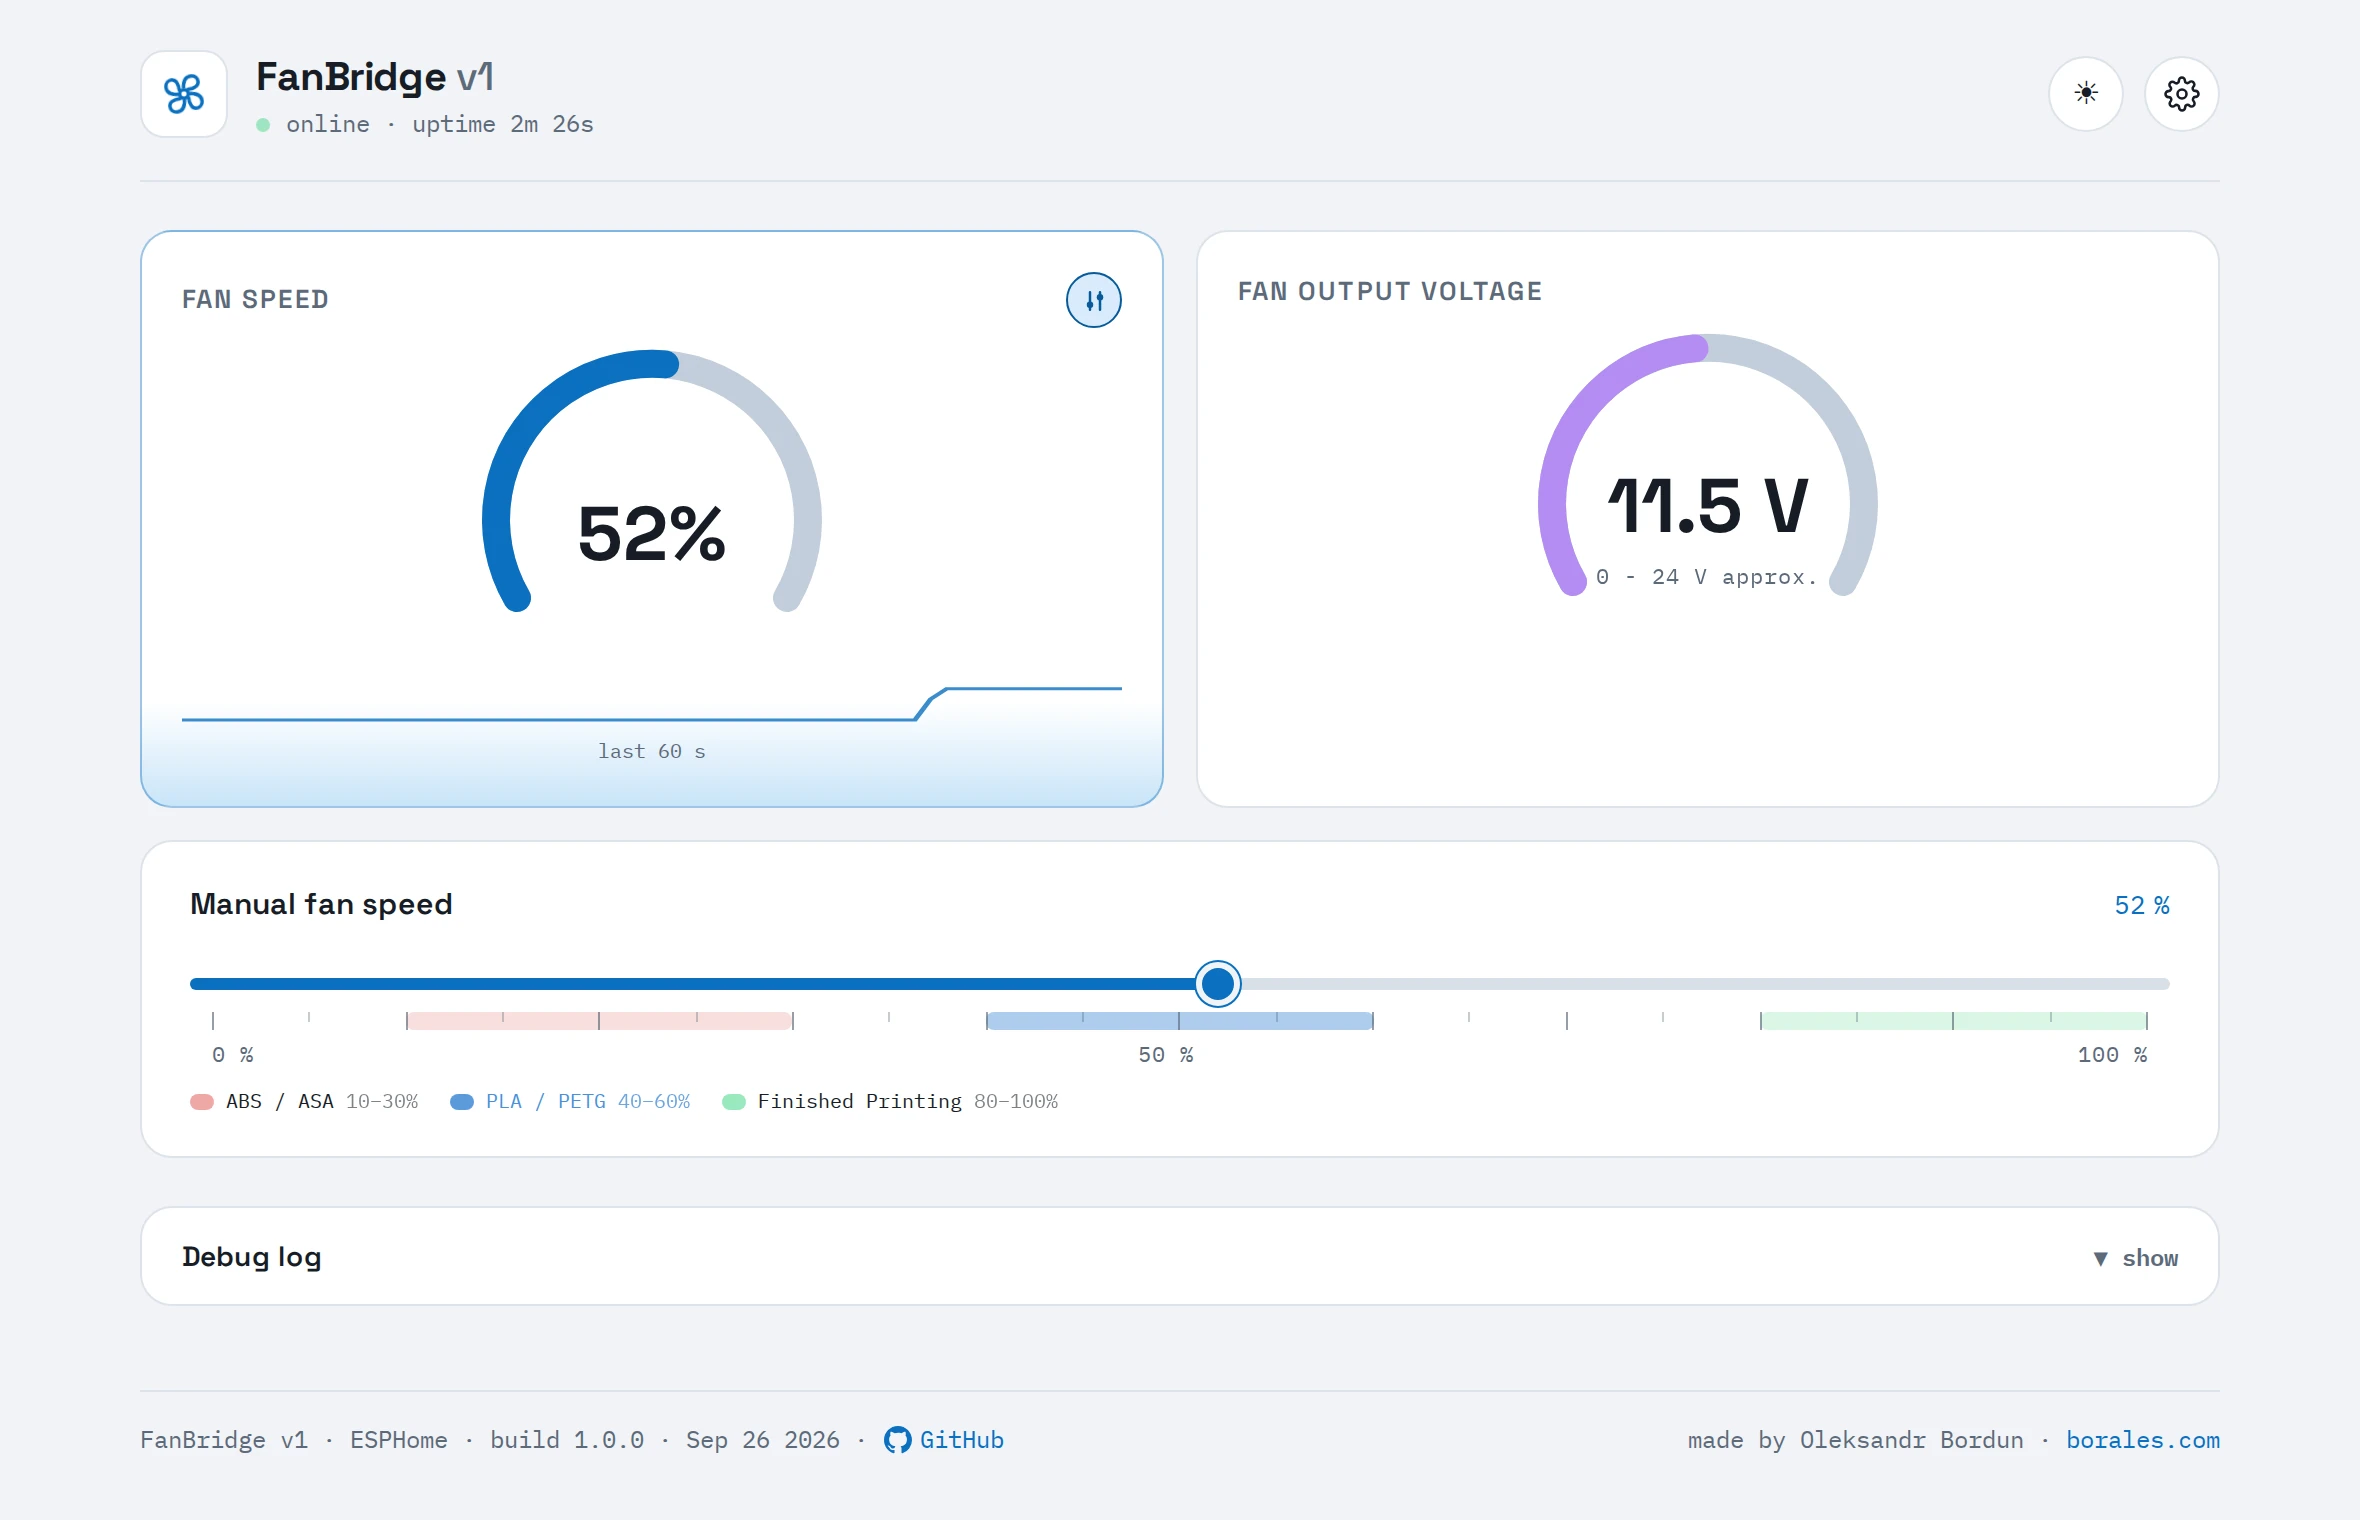
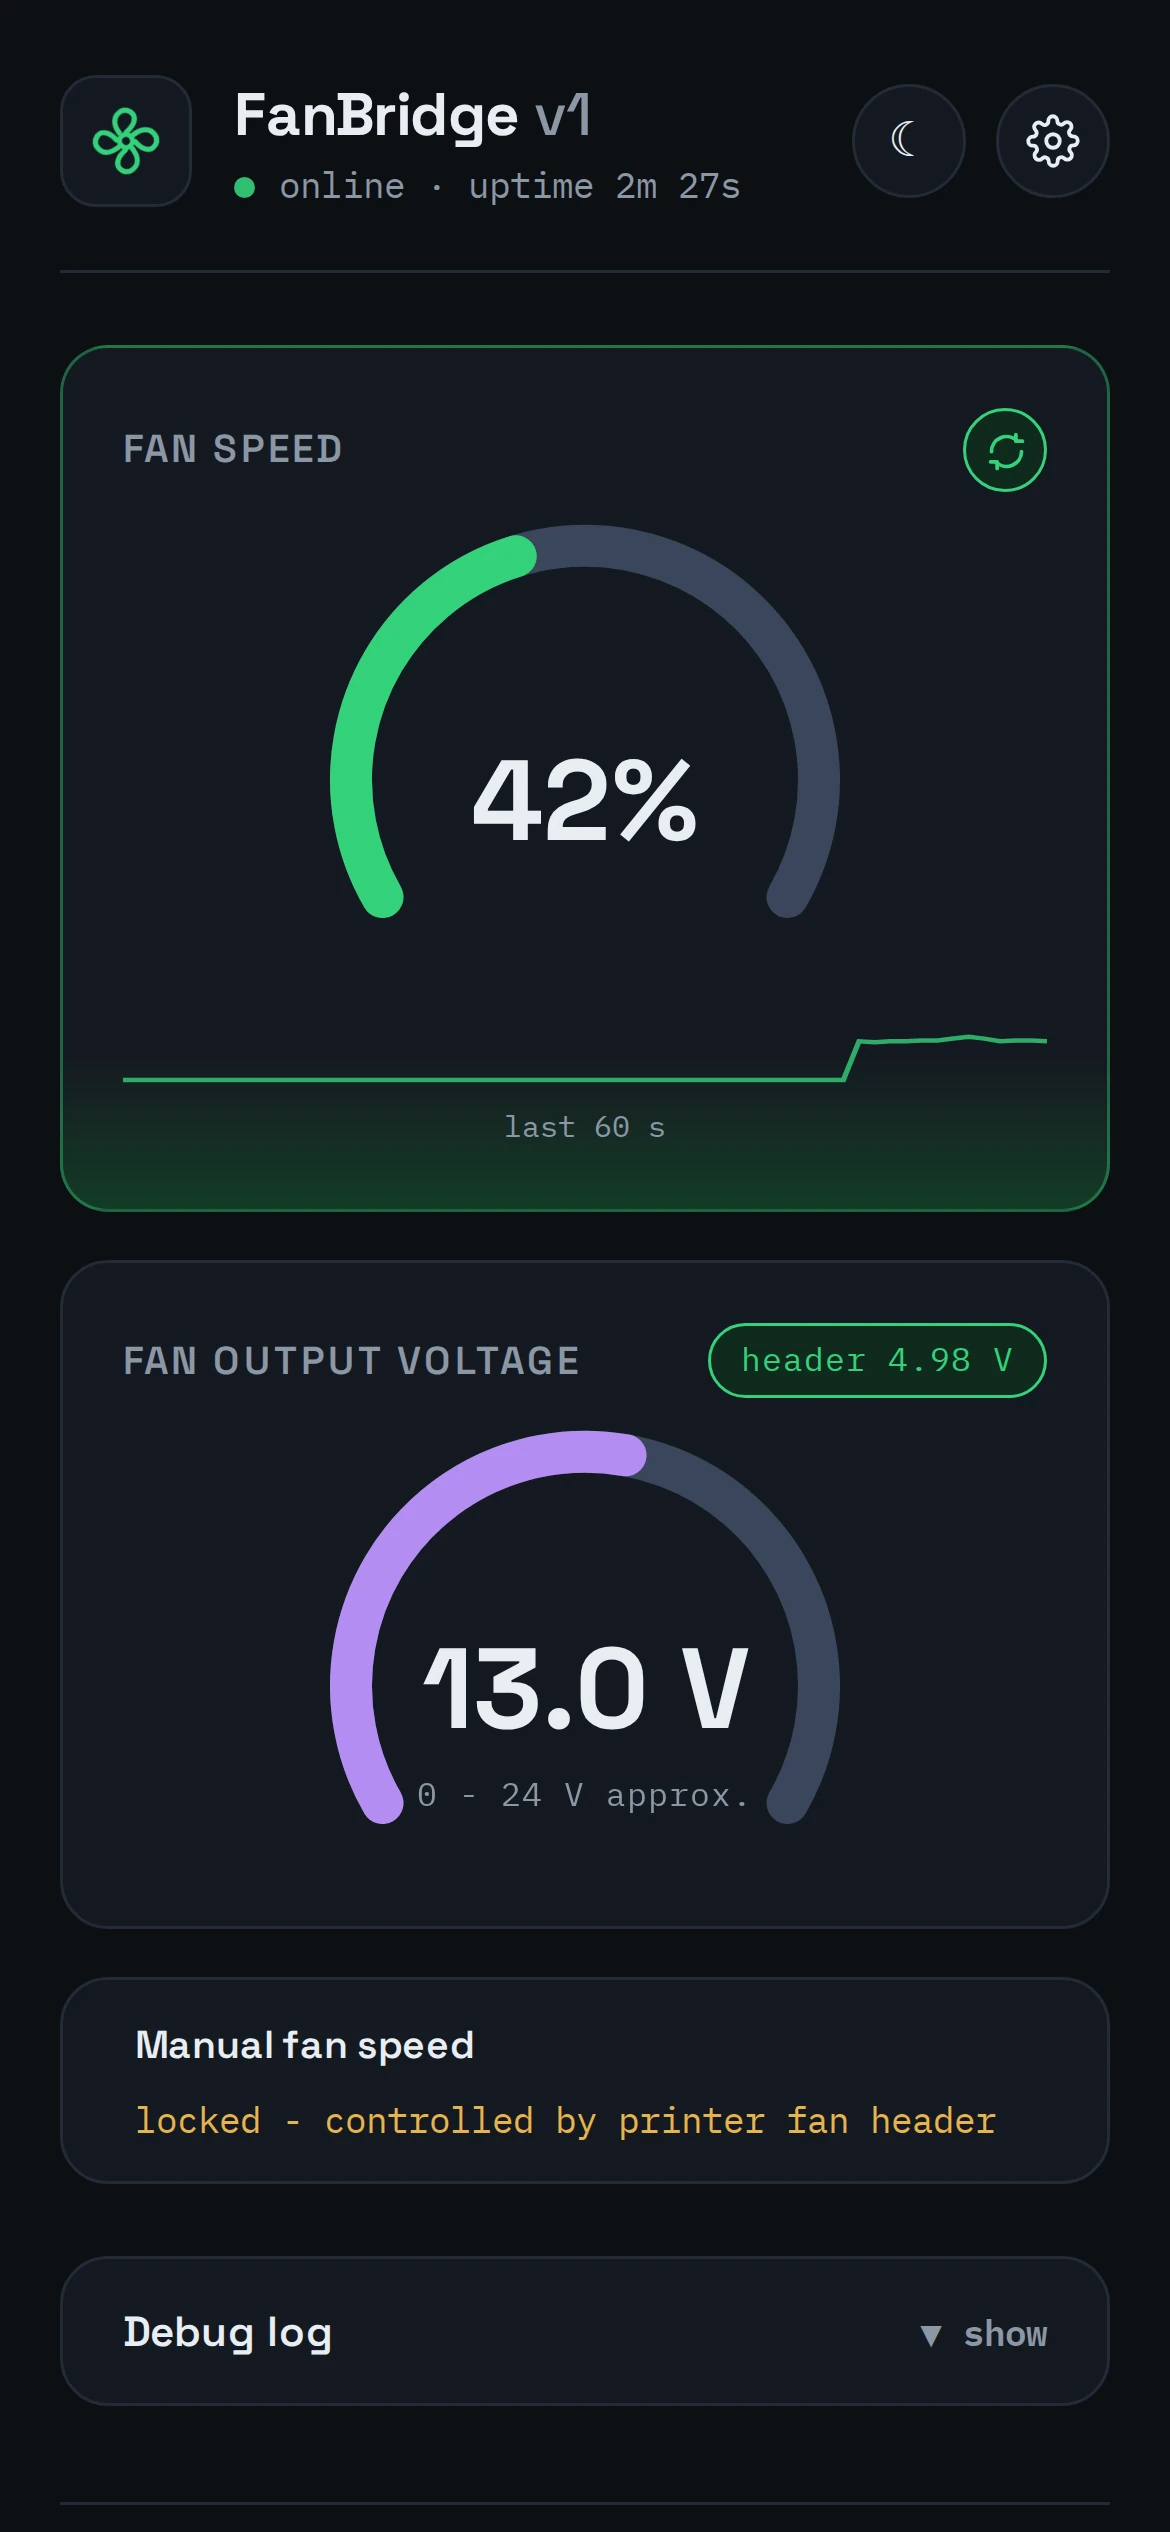
Web UI
It runs on the device itself. The demo runs on simulated data, so feel free to poke around.
Home Assistant
Shows up through the ESPHome integration, ready for dashboards and alerts.Shows up through the ESPHome integration. Its Manual Fan Speed is what an automation sets.
Open firmware
The ESPHome config is public. Read it, change it, flash it over USB-C.
Let the printer run your air filter.
Let Home Assistant run your air filter.
Coming to the shop as the 9-24V Smart Fan Speed Controller, v1.